您的当前位置:首页 > Telegram > ### InFocus M680 vs. Lenovo K4 Note: Detailed Comparison with Pros & ConsDelve into a comprehensive head-to-head battle between the InFocus M680 and the Lenovo K4 Note. This article delves into the strengths and weaknesses of each smartphone, providing you with a detailed comparison to help you make an informed choice. 正文

### InFocus M680 vs. Lenovo K4 Note: Detailed Comparison with Pros & ConsDelve into a comprehensive head-to-head battle between the InFocus M680 and the Lenovo K4 Note. This article delves into the strengths and weaknesses of each smartphone, providing you with a detailed comparison to help you make an informed choice.

时间:2024-09-24 09:01:35 来源:网络整理 编辑:Telegram

核心提示

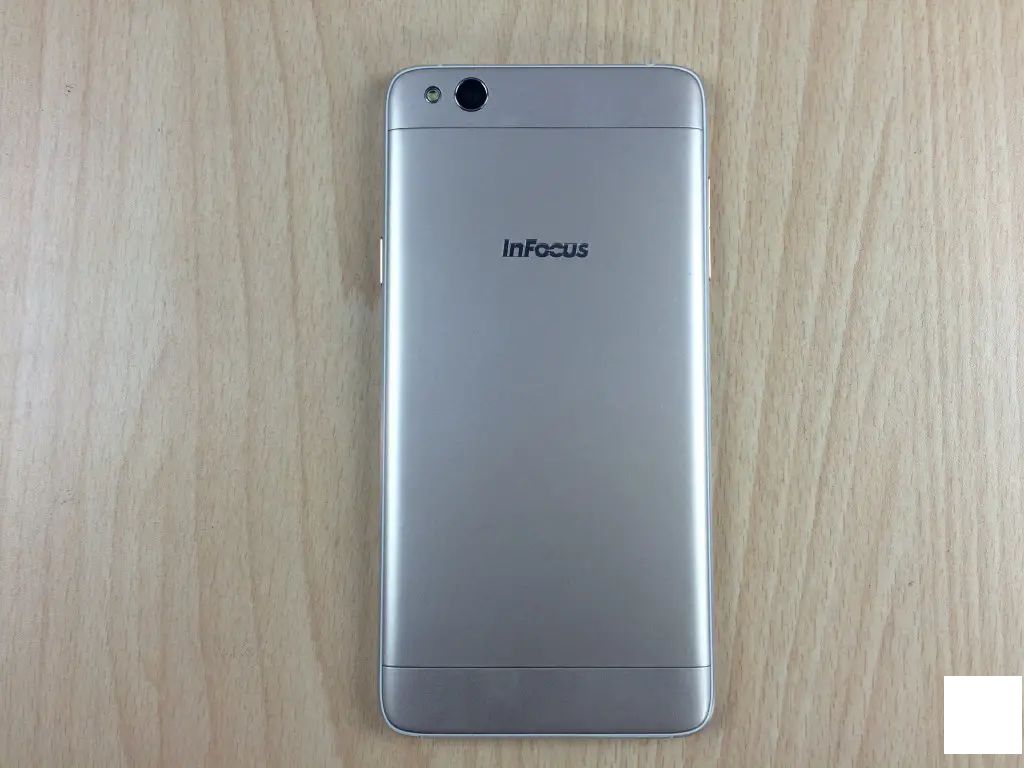
NoteworthyFeatures[tableid=309/]HighlightListDisplayandDesignHigh-resolutiondisplayforimmersiveviewi

Noteworthy Features

[table id=309 /]

Highlight List

Display and Design

  • High-resolution display for immersive viewing experiences
  • Futuristic design for a sleek and stylish look
  • Sturdy construction for longevity

Performance and Storage

  • Powerful processor for smooth multitasking

Cameras and Entertainment

  • High-quality cameras for stunning photos and videos
  • Integrated entertainment features for a fun-filled experience

Battery Life and Connectivity

  • Extended battery life for all-day usage
  • Convenient connectivity options for seamless experiences

Additional Perks

  • Advanced security features with fingerprint scanner
  • NFC chip for seamless mobile payments

Competitive Edge

Comparative Analysis

Lenovo K4 Note vs InFocus M680

Comprehensive Specs Comparison

Lenovo K4 Note

InFocus M680

Verdict

The Lenovo K4 Note stands out with its advanced fingerprint scanner and NFC capabilities, offering a richer feature set than the InFocus M680.

Conclusion

下一篇:### How to Share Private Albums on Google Photos---#### Share Your Private Memories with Google PhotosWould you like to share select moments with friends and family without publicly displaying your entire collection? Google Photos allows you to easily share private albums with specific individuals. Follow these simple steps to keep your cherished memories private while still sharing them on your terms.---#### Step-by-Step Guide to Sharing Your Private Google Photos Albums**1. Choose the Album You Want to Share** Start by navigating to your Google Photos library. Select the album you wish to share. If you haven't created an album yet, tap on the '+' button, choose 'New album,' and organize your photos accordingly.**2. Open the Album Settings** With the album selected, tap the three vertical dots in the upper right corner of the screen to access the menu. From the dropdown, tap on 'Album settings'.**3. Go to the Share Option** In the Album settings menu, find the 'Triangle gear' icon or 'Share' link to open sharing options for that specific album.**4. Add Recipients** Here, you can type in the email addresses or phone numbers of the individuals you want to add as recipients. Each recipient will receive an invitation to view your album.**5. Set Access Permissions** You can decide whether the album is visible to 'Anyone' with the invitation link or keep it secure by choosing Password required or See only.**6. Customize the Sharing Link** If you want to share the album via a link, click on 'Shareable link' and copy it to share it outside of email and messaging apps. You can also use the built-in sharing function on Google Photos to select the app or service where you want to share the link.**7. Send the Invitation** Once everything is set to your satisfaction, tap 'Send invite' or 'Share'. Recipients will receive a message with a link to your private album. **8. Monitor Activity (Optional)** Should you wish to keep an eye on who is accessing your album, navigate back to the 'Sharing settings' and enable 'See who has access'. You'll receive notifications whenever someone gains access or views the album.---**Remember:** Always keep privacy in mind when sharing your photos. Regularly review your shared albums and adjust the permissions as needed to protect your personal content.