您的当前位置:首页 > Telegram Premium > ### Top 3 Swift Techniques to Elevate Your Online Image Management - Fast & Free!When it comes to optimizing your images for online use, reducing the file size is crucial for enhanced load times and saving storage space. Here are three straightforward methods to resize your images swiftly, without spending a dime:### 1. **Use a Simple Online Tool: TinyPNG**Begin with TinyPNG, a user-friendly platform renowned for its easy-to-use interface and effective JPG optimization. This tool allows you to compress your images with minimal loss in quality. Just upload your image, choose your desired compression level, and download the resized file.### 2. **Embrace the Power of Google Photos**For those with a Google account, Google Photos offers a built-in utility for resizing your images. Simply open the Google Photos app, select the photos you wish to resize, tap on the three vertical dots for more options, and choose "Edit." Within the editing menu, you'll find an option to adjust the size to some predefined dimensions. This method combines convenience with quality retention.### 3. **Get Creative with an Independent Image Editor Tool**Should you prefer a more hands-on approach, apps like GIMP (GNU Image Manipulation Program) offer free, open-source options for image resizing. GIMP provides advanced features and greater control over the compression process, giving you the ability to fine-tune your image's size precisely.Remember, the right balance between file size and image quality is key to optimal online performance. Use these methods to streamline your image management process and elevate your online presence! 正文

### Top 3 Swift Techniques to Elevate Your Online Image Management - Fast & Free!When it comes to optimizing your images for online use, reducing the file size is crucial for enhanced load times and saving storage space. Here are three straightforward methods to resize your images swiftly, without spending a dime:### 1. **Use a Simple Online Tool: TinyPNG**Begin with TinyPNG, a user-friendly platform renowned for its easy-to-use interface and effective JPG optimization. This tool allows you to compress your images with minimal loss in quality. Just upload your image, choose your desired compression level, and download the resized file.### 2. **Embrace the Power of Google Photos**For those with a Google account, Google Photos offers a built-in utility for resizing your images. Simply open the Google Photos app, select the photos you wish to resize, tap on the three vertical dots for more options, and choose "Edit." Within the editing menu, you'll find an option to adjust the size to some predefined dimensions. This method combines convenience with quality retention.### 3. **Get Creative with an Independent Image Editor Tool**Should you prefer a more hands-on approach, apps like GIMP (GNU Image Manipulation Program) offer free, open-source options for image resizing. GIMP provides advanced features and greater control over the compression process, giving you the ability to fine-tune your image's size precisely.Remember, the right balance between file size and image quality is key to optimal online performance. Use these methods to streamline your image management process and elevate your online presence!

时间:2024-09-23 20:25:51 来源:网络整理 编辑:Telegram Premium

核心提示

Imagedimensionsarecrucialinthedigitalrealm,whetherperfectingaformorenhancingasite.Seekingaswiftwayto

Image dimensions are crucial in the digital realm, whether perfecting a form or enhancing a site. Seeking a swift way to trim your image size sans software? We've got the perfect solution. Our article unveils three nifty ways to effortlessly decrease image size online, zero cost.


Additionally, Explore | Top 5 Methods to Boost Image Resolution and Size Without Compromise

3 Quick Tricks to Instantly Shrink Image Size Online for Free

Effortlessly Scale Down Images with Image Compressor

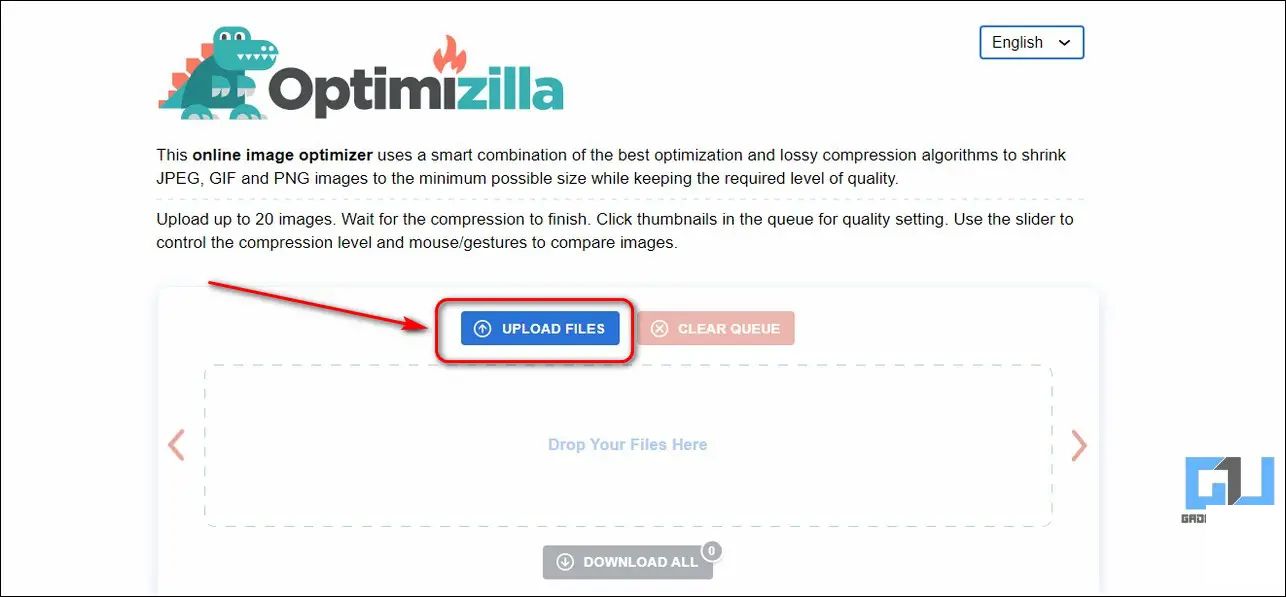
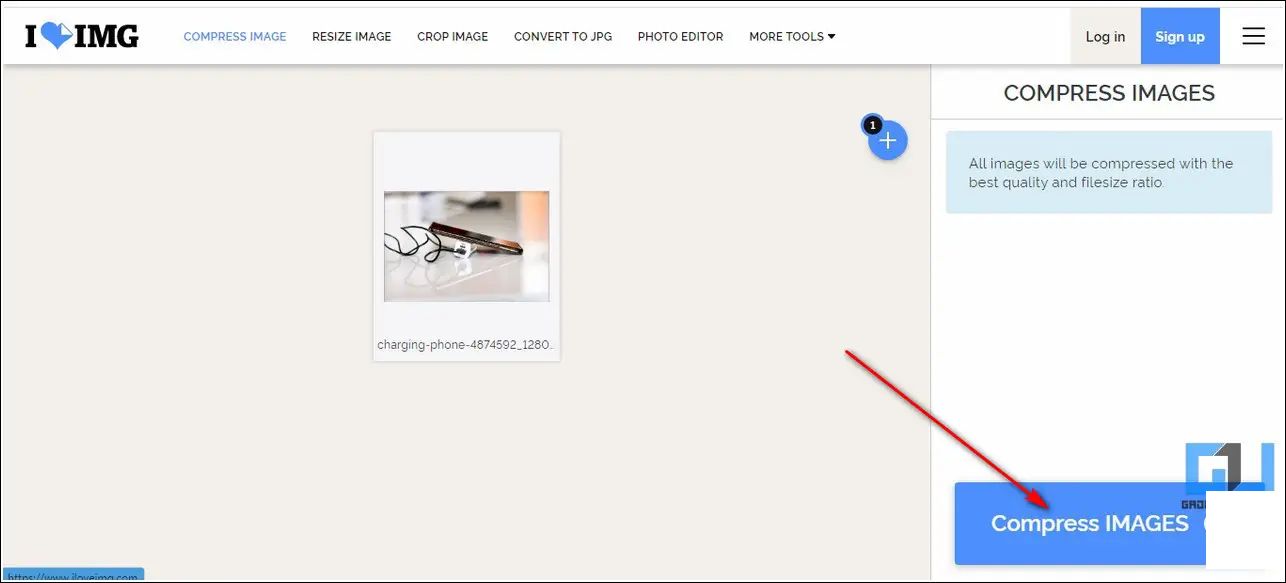
Leverage the Image Compressor online for a seamless image slimming experience, powered by its powerful compression tech. Supporting a range of formats, including JPEG, GIF, PNG, and giving you the chance to compress batches of up to 20 photos. Here’s how you jumpstart the shrinkage.

1. Launch a browser tab and navigate to the Image Compressor site.

2. Click the Upload Files button to swiftly load your image(s) to be re-sized.

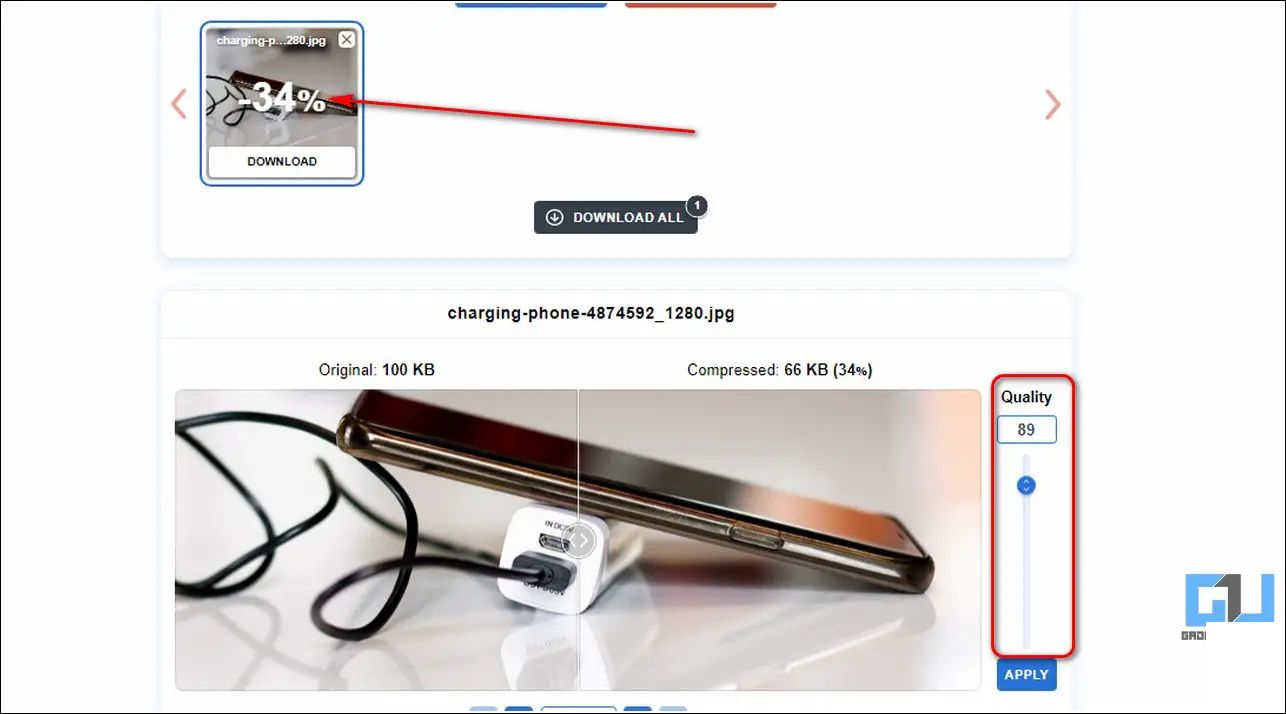
3. Relax as the tool kicks in; observe the shrinkage percentage in seconds.

4. For added slenderness, tweak the quality control slider, balancing razor-sharpness and file slimness.

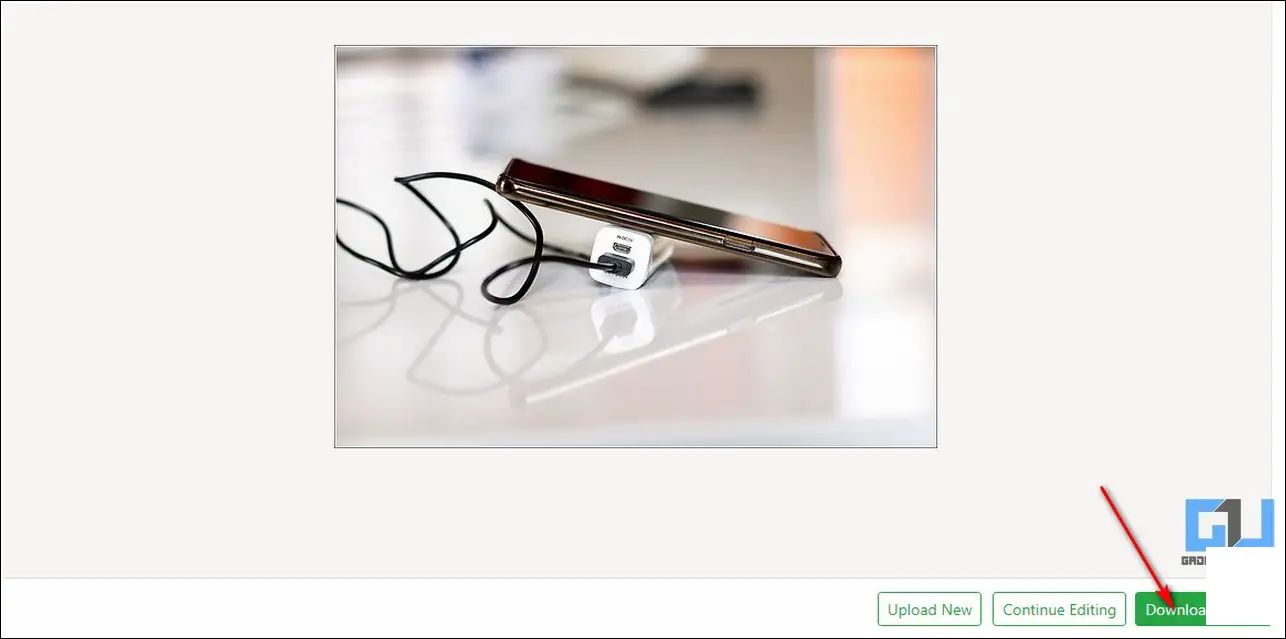
5. Sink your teeth into the download button for your resized visual delight, or hit Download All for a batch treat.

Streamline Image Size with Resize Pixel

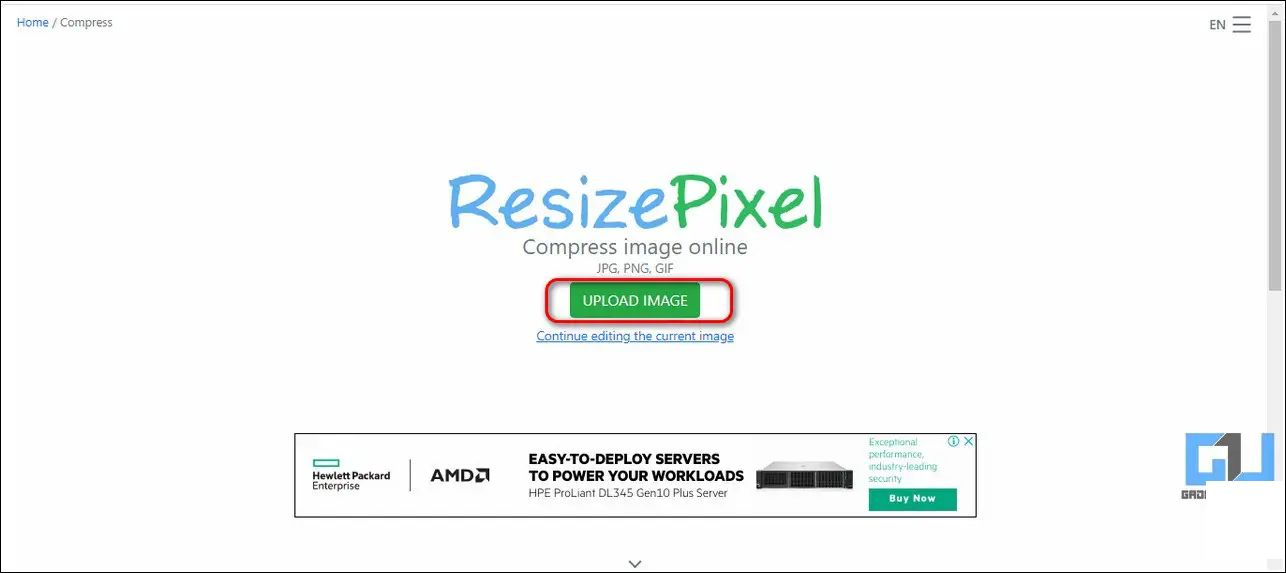
Come across Resize Pixel, the go-to for a touch of magic on your photos. Aim for Revolutionary image compression with the promise to trim size up to 70% while maintaining peak fidelity. Check out these straightforward steps to get started.

1..whack on ResizePixel and let the Upload Image button lead the charge.

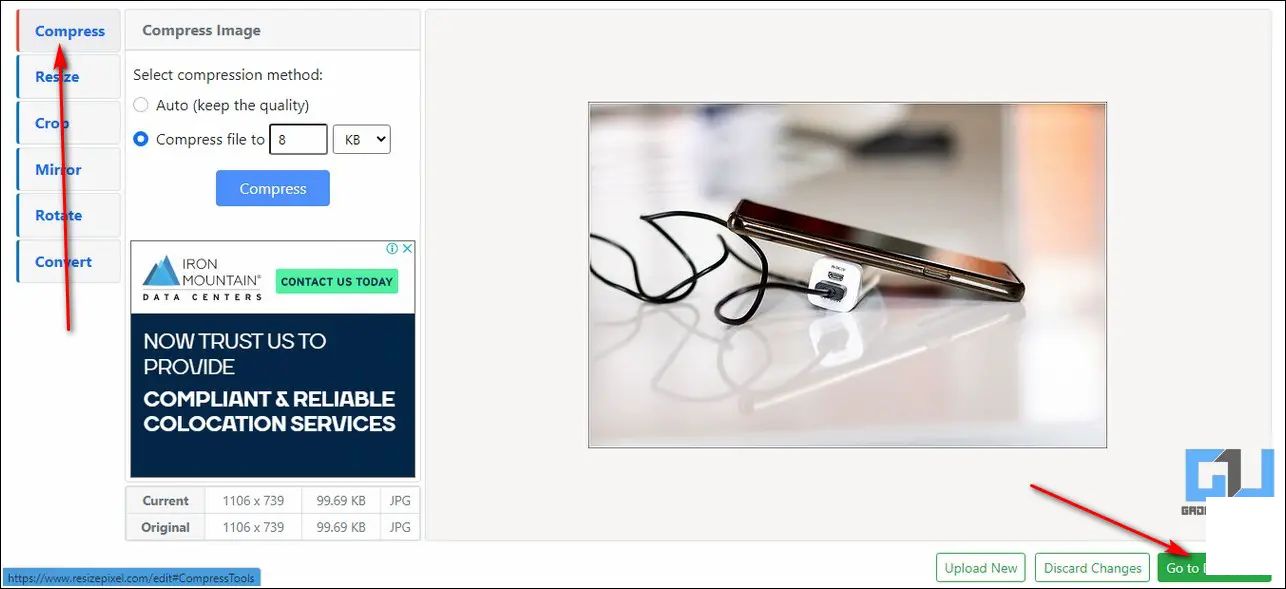
2. Opt for the Compress section and decide if you want manual or auto intervention.

3. Navigate to Go to Download to get a sneak peek at your masterpiece.

4. It's Release Day - tap the Download Image button today your Manitou.

Conquer Image.administration with Image Editor & Tools Extension

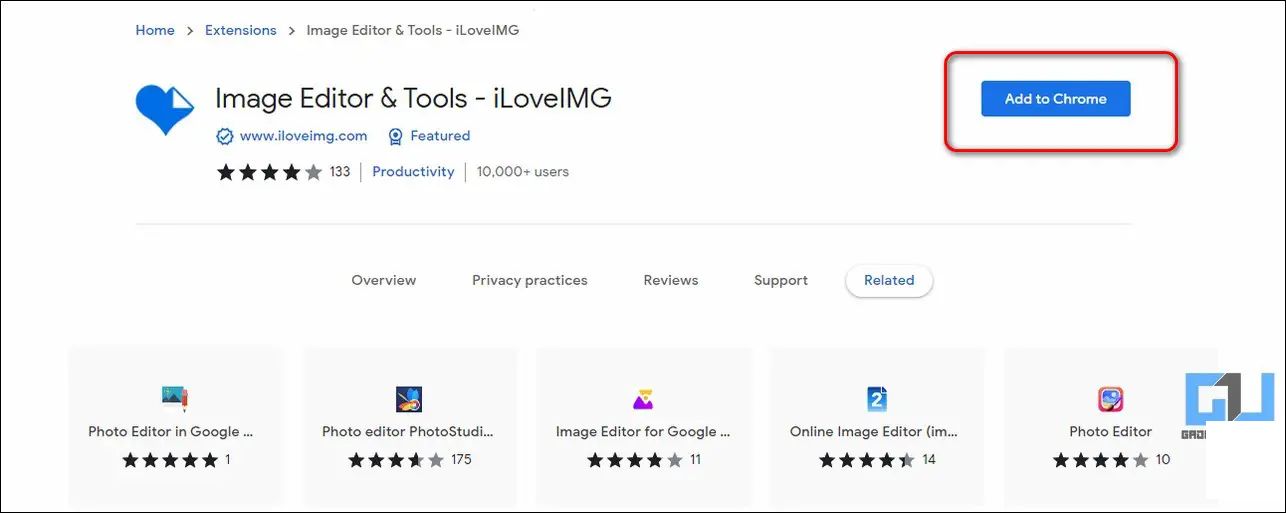
Reducing file bulk has never been so browser-friendly, thanks to the Image Editor & Tools extension. Zip up your profile and get it in the market (Google Chrome/Brave) for a whole new image game.

1. Kickstart with a browser tab and a quick extension installment.

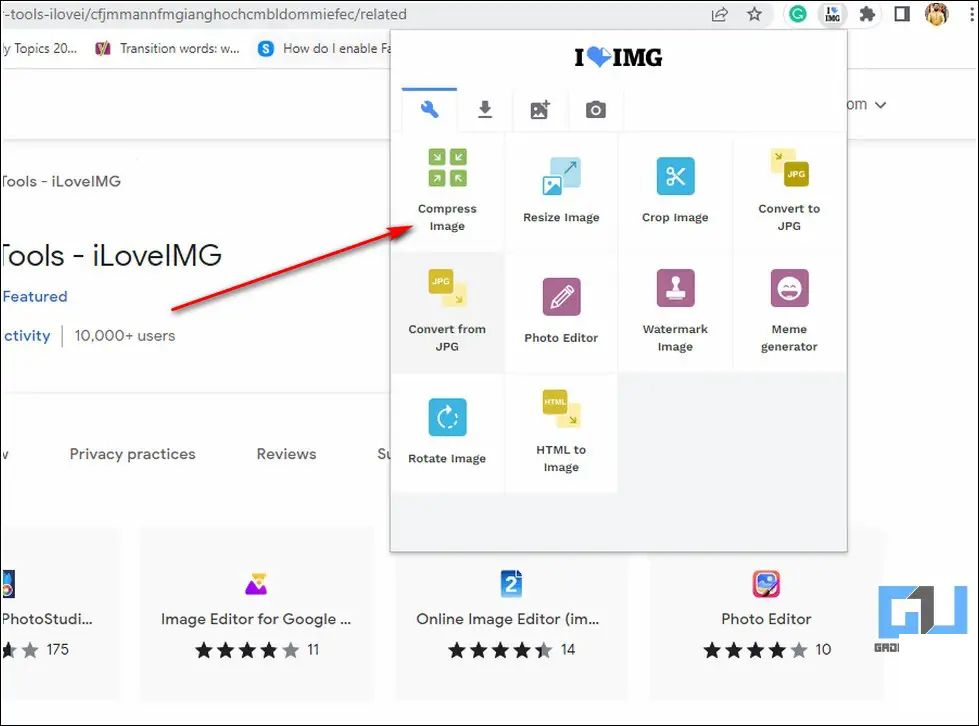
2. Drag and click Compress Image to select your visual genus for resizing.

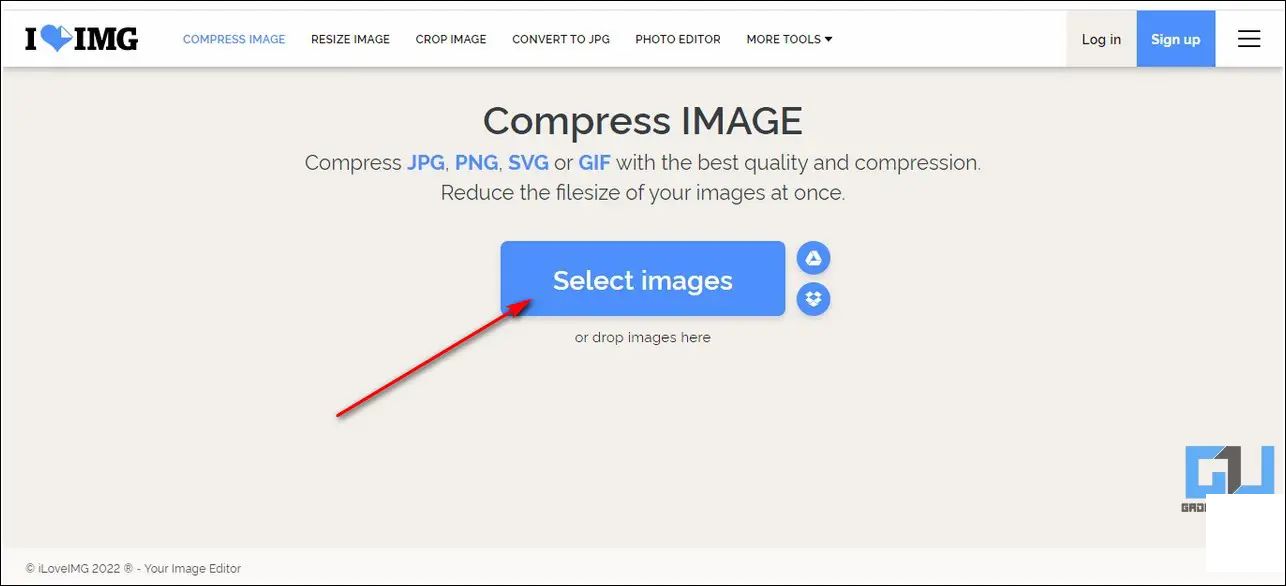
3. Pick your photo picker Select Images option and launch your image(s) to the stripdown corral.

4. Ring theообразокомпрессияb button Compress Images to di Jesus Christ your image(s)!

5. With a zip and a zap, head over to Download compressed images, the circle of life.

6. The thin edge of victory. Your image is now as buoyant as it was before.

Pro move: Quickie Image Resizing in Windows 10 & 11

Now you know the blueprint to image trimmings, wouldn't you love to weetabix the resizing magic directly in your Windows 10 or 11 kitchen? Follow our brisk tutorial to resize images without cost in Windows 10 and 11.

The Finale: Sculpt That Image Shape

Here’s your cheat sheet for top-tier image downsizing, all for lblows online. If this mini lesson has honed your ability to compress without shedding pixels, spread the joy by liking and forwarding to your crew. Keep the '])```pythondef sum_numbers(numbers): return sum(numbers)def count_numbers(numbers): return len(numbers)def average_numbers(numbers): return sum(numbers) / count_numbers(numbers) if count_numbers(numbers) != 0 else 0def max_number(numbers): return max(numbers)def min_number(numbers): return min(numbers)def product_numbers(numbers): product = 1 for number in numbers: product *= number return productdef contains_digit(numbers): digit = input("Enter a digit (1-9) you want to search for: ") for number in numbers: if str(number).contains(digit): return True return Falsedef main(): numbers = input("Enter a list of numbers separated by space: ").split() numbers = [int(num) for num in numbers] print("Sum of numbers: ", sum_numbers(numbers)) print("Count of numbers: ", count_numbers(numbers)) print("Average of numbers: ", average_numbers(numbers)) print("Maximum number: ", max_number(numbers)) print("Minimum number: ", min_number(numbers)) print("Product of numbers: ", product_numbers(numbers)) print("Contains digit: ", contains_digit(numbers))main()```

上一篇:### How to Utilize Google's Nearby Share on Windows 10 and Windows 11Wondering how to take advantage of Google's Nearby Share feature on your Windows 10 or Windows 11 computer? Follow these simple steps to begin a seamless sharing experience:#### Getting Started with Google’s Nearby Share on Windows1. **Enable Bluetooth and Wi-Fi Connectivity:** Before you can share files using Nearby Share, ensure that both Bluetooth and Wi-Fi are enabled on your device. Simply navigate to your system's settings and toggle the relevant options.2. **Turn On Nearby Share:** - **For Windows 10:** - Navigate to `Settings` > `System` > `Shared experiences`. - Under `Nearby Sharing`, toggle the switch to `On`. - **For Windows 11:** - Select the `Start` button and enter `Settings` in the search field. - Go to `System` > `Shared experiences`. - Flip the `Nearby Sharing` switch to `On` for both `PC to PC` and `PC to Android` options if desired.3. **Pair Devices:** Once Nearby Share is enabled, your device should automatically discover other devices that also have Nearby Share enabled. This process is usually straightforward and can be completed by simply accepting a connection request from another device.4. **Share a File:** - To share a file, navigate to the folder where the file is stored. - Right-click on the file and select `Share`. - From the sharing options, choose ` Nearby Share`. - The list of discoverable devices will appear. Select the device you wish to send the file to. - Confirm the send on the receiving device, and the file transfer will commence.5. **Accept a File Share:** - When you receive a share offer from another device, your PC will display a prompt. - You can choose to accept the file by clicking `Accept`, or decline it by choosing `Decline`.#### Tips for Using Google’s Nearby Share- Ensure that both the sending and receiving devices are within close proximity to maintain a stable connection.- If you want to send an entire folder, compress it into a single folder or package it with compression software before initiating the share.- Regularly check the file transfer progress, particularly with large files, as they can take a while to transfer.Now that you know how to use Google's Nearby Share on Windows 10 and Windows 11, you're well on your way to creating a convenient and quick file-sharing solution for both personal and professional needs.
下一篇:Title: Navigating the New Normal: Booking a COVID-19 Test Online in India During the Pandemic---Are you looking to get a COVID-19 test and want to do so with the utmost convenience? With the ongoing pandemic, online services have become essential for a seamless testing experience. Here’s a comprehensive guide on how to book a COVID-19 test online in India, ensuring you stay safe and informed.---In the wake of the global COVID-19 pandemic, obtaining a test has become a critical step in ensuring public health and safety. India, like many countries, has made the process of booking a COVID-19 test online easier and more efficient. Follow these steps to arrange your test quickly and reliably:### 1. Choose a Testing Platform- **State Government Websites**: Visit the official state health department websites where a list of authorized testing centers and online booking forms are typically available.- **Health Apps**: Download reputable health and wellness apps that offer COVID-19 testing services, such as MyHealth or CoWin.- **Third-party Platforms**: Consider platforms that facilitate test bookings such as Practo or Apollo 24/7, ensuring they are recognized and government-endorsed.### 2. Create an Account or Log In- Register or sign in to the chosen platform using your personal details.- Verify your identity with the necessary documents, typically your PAN card, Aadhaar card, or passport, as required.### 3. Select Your Test Center- Look for testing centers near your location using the filter options provided by the platform.- Check the center’s details such as contact number, operating hours, and types of tests offered.- Confirm if the center is acknowledged by your state’s health department.### 4. Choose a Test Type- Opt for the type of test you require—PCR, Rapid Antigen, or CBNAAT—based on your symptoms, exposure history, or pre-departure requirements.- Specify if you need a test report certificate, which is often necessary for travel or workplace purposes.### 5. Schedule Your Test- Specify the date and time slot that suits your convenience for the test.- Remain flexible with appointments as high demand may lead to limited availability.### 6. Review and Confirm- Carefully review all the details entered, including your personal information, test type, and time slot.- Confirm your booking and review any payment options available for the service.### 7. Pay for the Test- Some platforms require payment at the time of booking; others may invoice you later after the test is taken.- Securely manage your payments using trusted and safe payment gateways.### 8. Prepare for Your Test- Keep an eye out for any instructions or locations indicated for report collection or download after the test.- Arrange transportation to and from the test center, ensuring you take all necessary precautions to minimize exposure to others.By following these steps, you can effectively book a COVID-19 test online in India, streamlining the process and allowing you to continue with your daily activities while contributing to the collective effort to contain the virus. Stay safe and stay informed.