您的当前位置:首页 > Paper Plane > Absolutely! Here's a revised version of your copy with the new content:" tout brighten your smartphone experience with the OneUI Notification Shade. Transform any device into a sleek, seamless interface that2 reflects the sophisticated style of Samsung’s signature design. Elevate your notifications and customization with the OneUI Notification Shade.":tg macOS version download 正文

Absolutely! Here's a revised version of your copy with the new content:" tout brighten your smartphone experience with the OneUI Notification Shade. Transform any device into a sleek, seamless interface that2 reflects the sophisticated style of Samsung’s signature design. Elevate your notifications and customization with the OneUI Notification Shade.":tg macOS version download

时间:2024-09-24 01:16:19 来源:网络整理 编辑:Paper Plane

核心提示

ImmerseyourselfintheeleganceofSamsung'sOneUI,amasterclassinAndroidcustomizationthat担保effortlessone-h

Immerse yourself in the elegance of Samsung's One UI, a masterclass in Android customization that担保 effortless one-handed interaction. Whether you谐振着同样的美,我们带来了一份惊喜——将OneUI的通知栏魅力移植至您的手机。一款应用,即可让您的手机焕发出OneUI的 notification界面的风采。

独树一帜:个性化通知与快捷设置

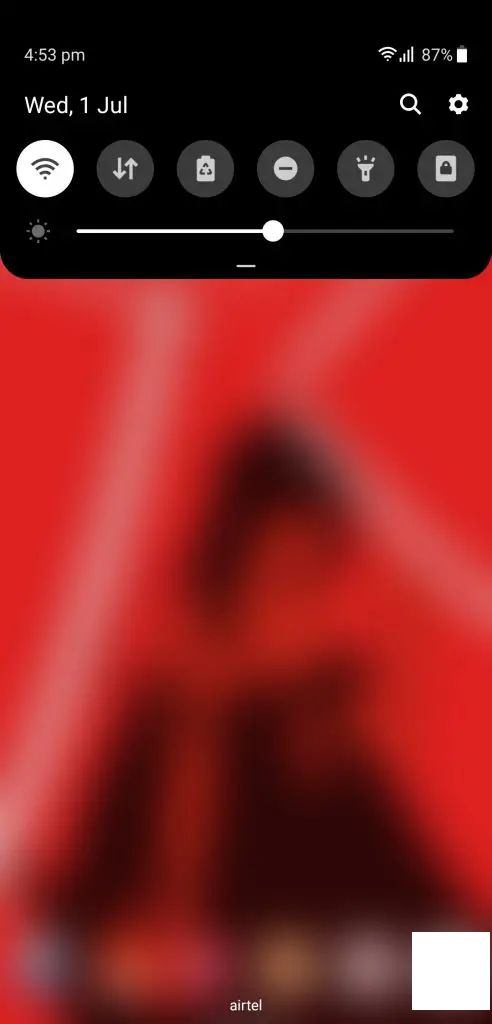
这款应用名为“One Shade”,旨在将代表性的OneUI通知栏完美植入至您的手机。应用只需简单覆盖原有的通知栏,新的通知栏便现于眼前。即便如此,您依旧可以通过提供的切换功能轻松访问默认的通知栏。

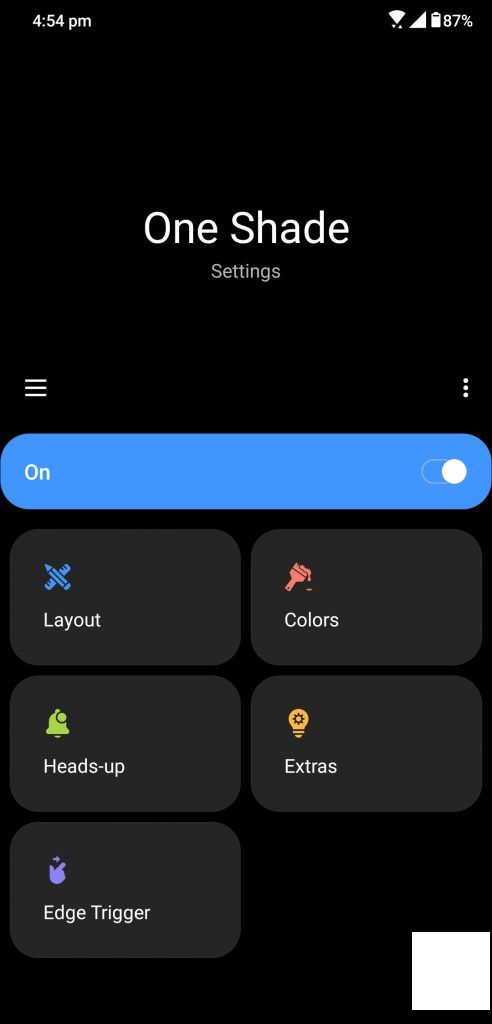
选择性地添加或移除开关,体验One UI般的便捷,众多格子选项供您挑选。更奇妙的是,如果您的设备支持指纹手势,One Shade同样会在使用时弹出,仿佛与原生的通知栏融为一体。体验丰富、免费起步,部分高级功能等待您付费解锁。

功能亮点:布局与色彩定制

在One Shade应用中,您将发现无尽的自定义选项。调节开关颜色、激活状态与禁用状态的色彩,甚至是开关形状。此外,多样化的形状变化将赋予您的通知栏无限可能。

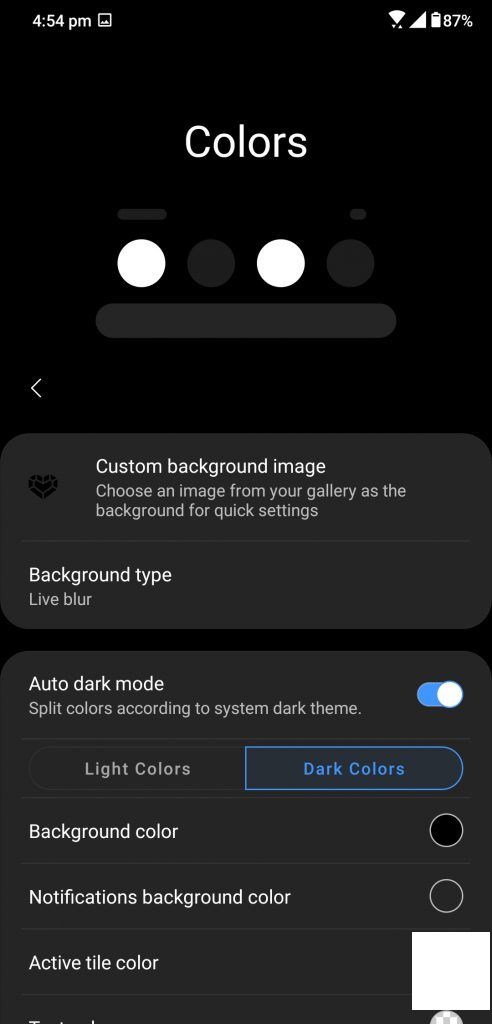
除了布局定制,One Shade还提供了布局优化功能。您可以轻松更改网格类型、边缘到达距离,通过调整行和列布局来改变通知栏样式。从亮度滑块的颜色与样式到背景的模糊或淡出效果,One ShadeYOUR通知界面的无限大。

结语

One Shade不仅仅为您的Android手机带来了One UI的通知栏,更是赋予它超出预期的功能亮点。它不仅模仿,更超越了原生的One UI通知栏。

上一篇:### How to Disable the Windows 10 Welcome ExperienceWould you like to bypass the initial welcome screen and dive straight into your Windows 10 experience? This guide will show you how to disable the Windows Welcome Experience, allowing you to launch your system directly to your personalized desktop.#### Step-by-Step Instructions1. **Access the Command Prompt with Elevated Privileges:** - To ensure you're performing these steps correctly, you'll need administrative access. Click on the Start button. - Type `cmd` in the search bar and then right-click on Command Prompt. Select `Run as administrator`.2. **Disable the Welcome Experience:** - A User Account Control (UAC) prompt will appear, asking for confirmation. Click `Yes` to proceed. - Once the Command Prompt opens, type the following command and press Enter: ``` msiexec / uninstall / packagepath = `C:\Program Files (x86)\Windows市委派包\conciergeOM.msi` ``` - If prompted to confirm the transaction, type `Y` and press Enter.3. **Perform a Clean Boot:** - To apply the changes, you might need to perform a clean boot. This will ensure that all unnecessary applications and services are disabled. Here's how to do it: - Type `msconfig` in the Start search bar and press Enter to open the System Configuration window. - Go to the `Services` tab. - Check the `Hide all Microsoft services` box at the bottom. - Click on `Disable all` to ensure all third-party services are also disabled. - Go back to the `Startup` tab and click on `Open Task Manager`. - Disable all startup items by right-clicking on them and selecting `Disable`. - Click on `OK` to close the System Configuration window. - Restart your PC.#### Further ActionAfter following these steps, you should find that the Windows Welcome Experience is disabled, and your system loads directly to the desktop. If you need to reactivate the Welcome Experience in the future, you can do so by following similar steps and paying attention to any prompts for confirmation. Keep in mind that making changes to system settings can have unintended consequences; always proceed with caution and desire.