您的当前位置:首页 > Telegram Download Tutorial > ### How to Utilize Google's Nearby Share on Windows 10 and Windows 11Wondering how to take advantage of Google's Nearby Share feature on your Windows 10 or Windows 11 computer? Follow these simple steps to begin a seamless sharing experience:#### Getting Started with Google’s Nearby Share on Windows1. **Enable Bluetooth and Wi-Fi Connectivity:** Before you can share files using Nearby Share, ensure that both Bluetooth and Wi-Fi are enabled on your device. Simply navigate to your system's settings and toggle the relevant options.2. **Turn On Nearby Share:** - **For Windows 10:** - Navigate to `Settings` > `System` > `Shared experiences`. - Under `Nearby Sharing`, toggle the switch to `On`. - **For Windows 11:** - Select the `Start` button and enter `Settings` in the search field. - Go to `System` > `Shared experiences`. - Flip the `Nearby Sharing` switch to `On` for both `PC to PC` and `PC to Android` options if desired.3. **Pair Devices:** Once Nearby Share is enabled, your device should automatically discover other devices that also have Nearby Share enabled. This process is usually straightforward and can be completed by simply accepting a connection request from another device.4. **Share a File:** - To share a file, navigate to the folder where the file is stored. - Right-click on the file and select `Share`. - From the sharing options, choose ` Nearby Share`. - The list of discoverable devices will appear. Select the device you wish to send the file to. - Confirm the send on the receiving device, and the file transfer will commence.5. **Accept a File Share:** - When you receive a share offer from another device, your PC will display a prompt. - You can choose to accept the file by clicking `Accept`, or decline it by choosing `Decline`.#### Tips for Using Google’s Nearby Share- Ensure that both the sending and receiving devices are within close proximity to maintain a stable connection.- If you want to send an entire folder, compress it into a single folder or package it with compression software before initiating the share.- Regularly check the file transfer progress, particularly with large files, as they can take a while to transfer.Now that you know how to use Google's Nearby Share on Windows 10 and Windows 11, you're well on your way to creating a convenient and quick file-sharing solution for both personal and professional needs.:纸飞机 Windows 版下载 正文
时间:2024-09-21 03:32:47 来源:网络整理 编辑:Telegram Download Tutorial
Embraceaseamlessfile-sharingrevolutionwithGoogle'sNearbyShareonWindows!Imaginedroppingfileswirelessl
Embrace a seamless file-sharing revolution with Google's Nearby Share on Windows! Imagine dropping files wirelessly from your PC to Android, or vice versa, just like magic. Our comprehensive guide reveals all, from setup and file transfer methods to essential tips and tricks.

Google's Nearby Share is a bridge between your devices, UnityShare-style, seamlessly connecting Windows and Android. It's the Windows equivalent to Apple's Airdrop, just better, as it works with Android devices too.
Right now, it's in beta form, but its performance exceeds expectations. Share memories, memos, and more effortlessly.

Our in-depth testing highlights its convenience:
Ready to take the leap?
Before hitting that transfer button, ensure your Windows PC is 64-bit and graced with Windows 10/11, and your Android device runs Android 6.0 or higher. The same network, 16 feet apart, and both validations must核对完成.
For the non-compatible crowd, let's take a peek at some exciting Nearby Share for ARM-based PC alternatives.
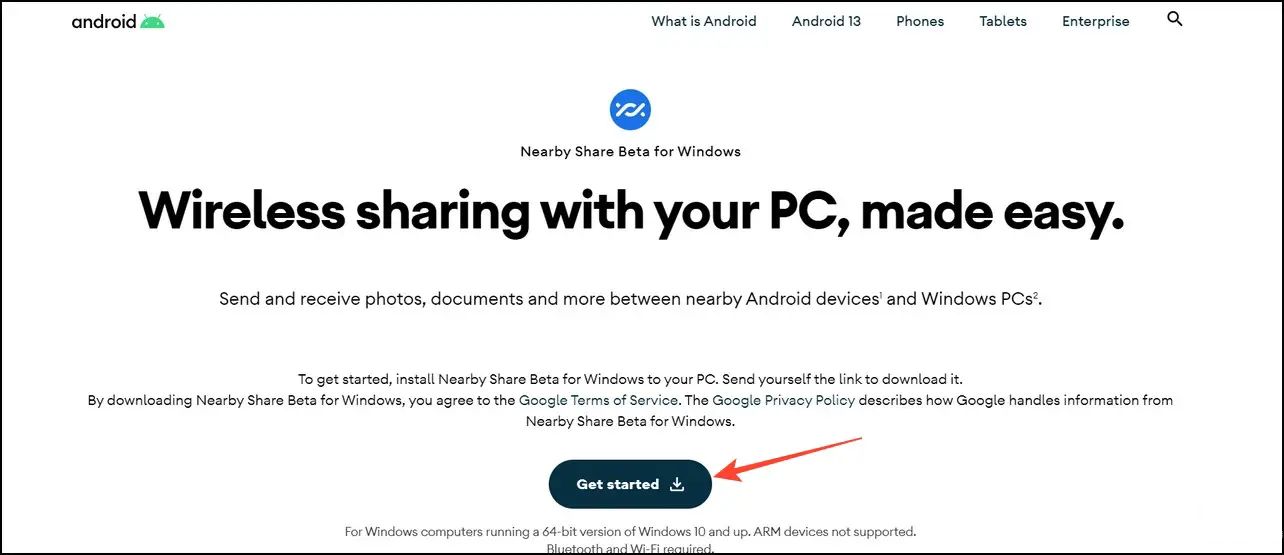
No sweat. First, snag the Nearby Share Beta from Google — not Microsoft. Then, dive into the setup wizard:
Keep the momentum with Android's Nearby Share. It's like a secret passthrough to seamless sharing:

Once it's all set, here's how you transfer from Windows to Android:
Get those files moving!
Reverse the route by picking a file, pressing share, selecting Nearby, and voilà – you're a file-sharing maestro.
Ease without an end.
Optimize your world with Nearby Share. These tips and tricks will transform how you connect. And since we know you love sharing, here's more to explore.
Your subsequent adventure includes:
Xiaomi Unveils the Mi Headphones and Mi Box Mini: An Official Launch of the Cozy Listening and Streaming Duo2024-09-21 12:24
Apple Unveils 16 GB iPhone 4 Model in India, Available for Rs. 31,8002024-09-21 11:36
The Realme XT 730G and Realme True Wireless Earbuds are set to be unveiled in India on December 17.2024-09-21 11:09
New Content: Quick Review Comparing Vivo V5 and Oppo F1s2024-09-21 13:09
As of the latest update, the Asus Zenfone Max Pro featuring the Snapdragon 636 processor is scheduled to be launched in India on April 23.2024-09-21 13:06
Apple Unveils 16 GB iPhone 4 Model in India, Available for Rs. 31,8002024-09-21 12:06
InFocus Bingo 10: Comprehensive Review, In-Depth Gaming, and Performance Benchmarks2024-09-21 11:39
**MTNL Enhances 3G offerings in Delhi: Enjoy 1.5x the Data with Latest Plan Upgrades2024-09-21 11:27