时间:2024-09-21 08:51:00 来源:网络整理 编辑:Telegram Account
EmbarkingonapricebattleatRs24,999,theOnePlusNordconfrontsthefreshRealmeX3launchhead-on.Boastingatop-
Embarking on a price battle at Rs 24,999, the OnePlus Nord confronts the fresh Realme X3 launch head-on. Boasting a top-tier processor, confusion reigns among potential buyers about the best choice. Our insightful OnePlus Nord versus Realme X3 showdown delves into specifications, features, and value for money.
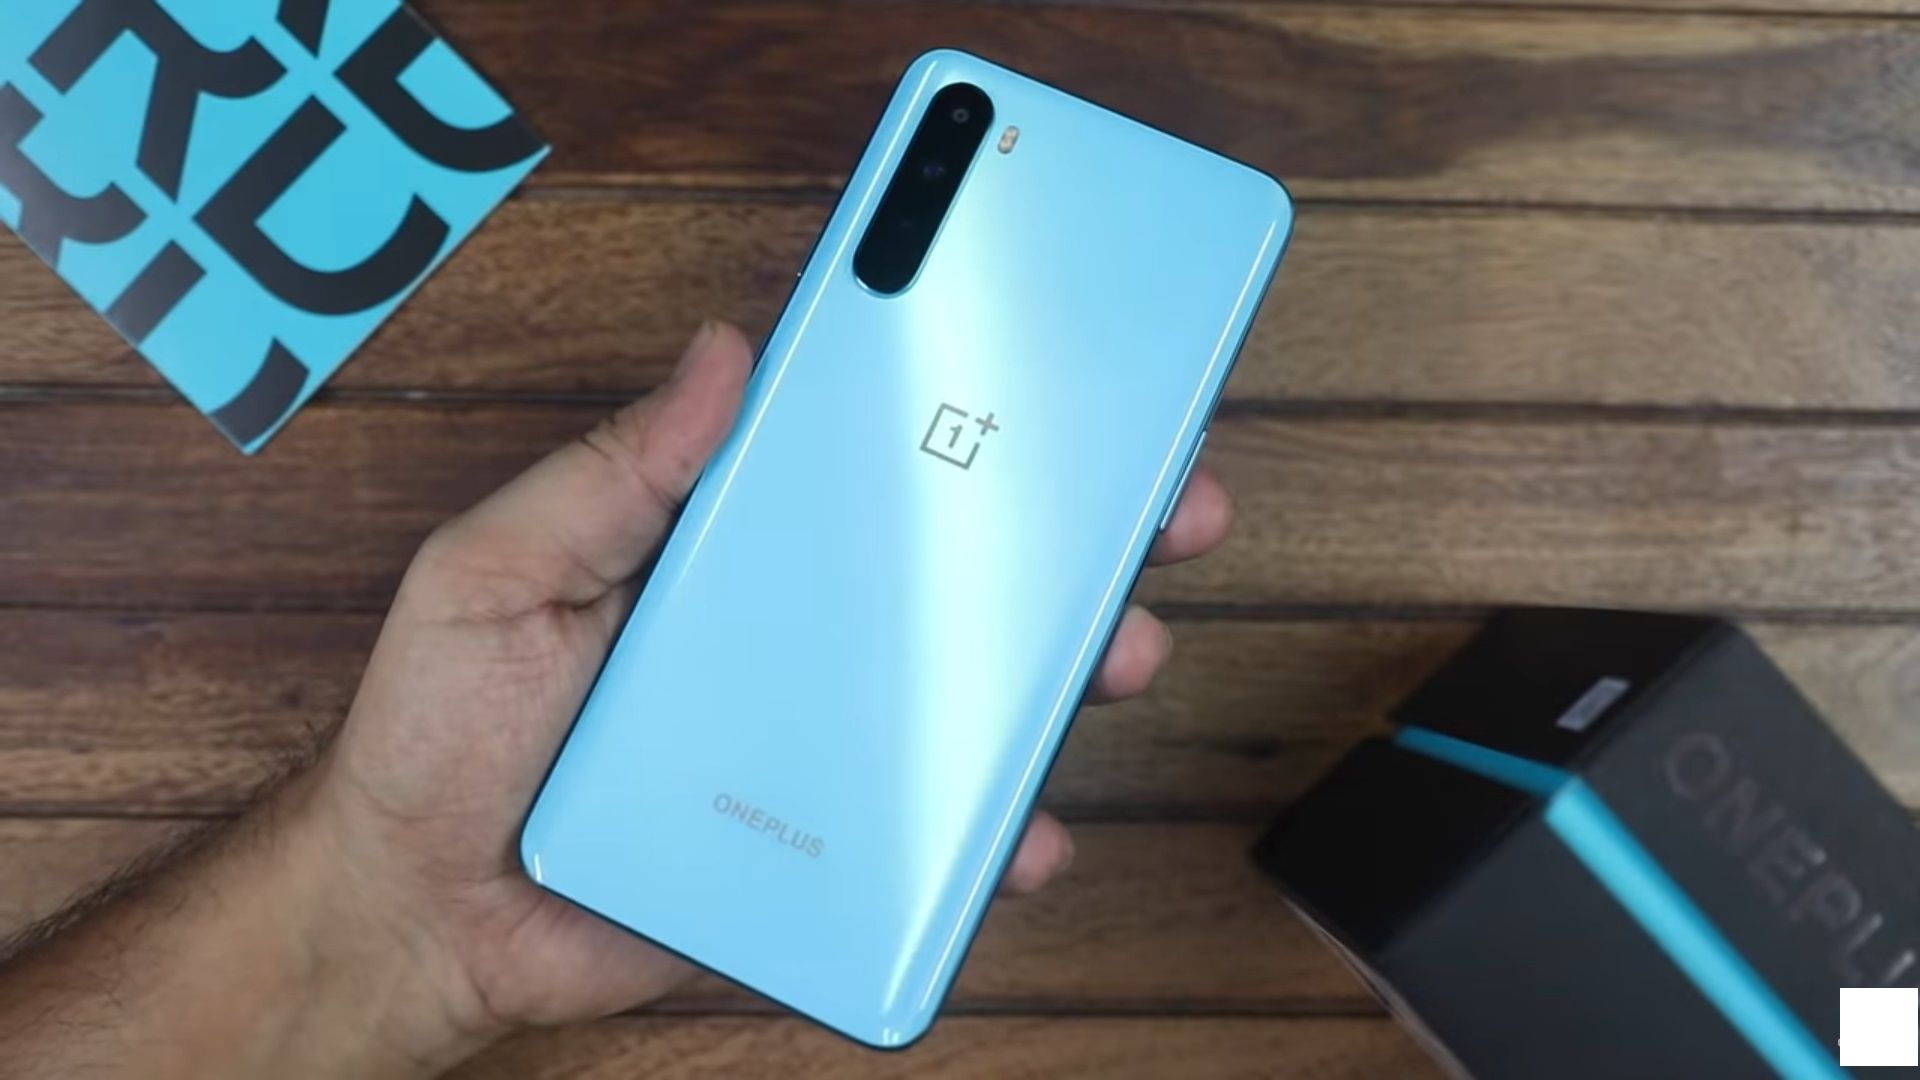
Styling-wise, the OnePlus Nord embraces a glass-clad shell with a shimmering gradient effect. Its polycarbonate frame is safeguarded by Gorilla Glass 5. Available in chic Blue and Grey shades.
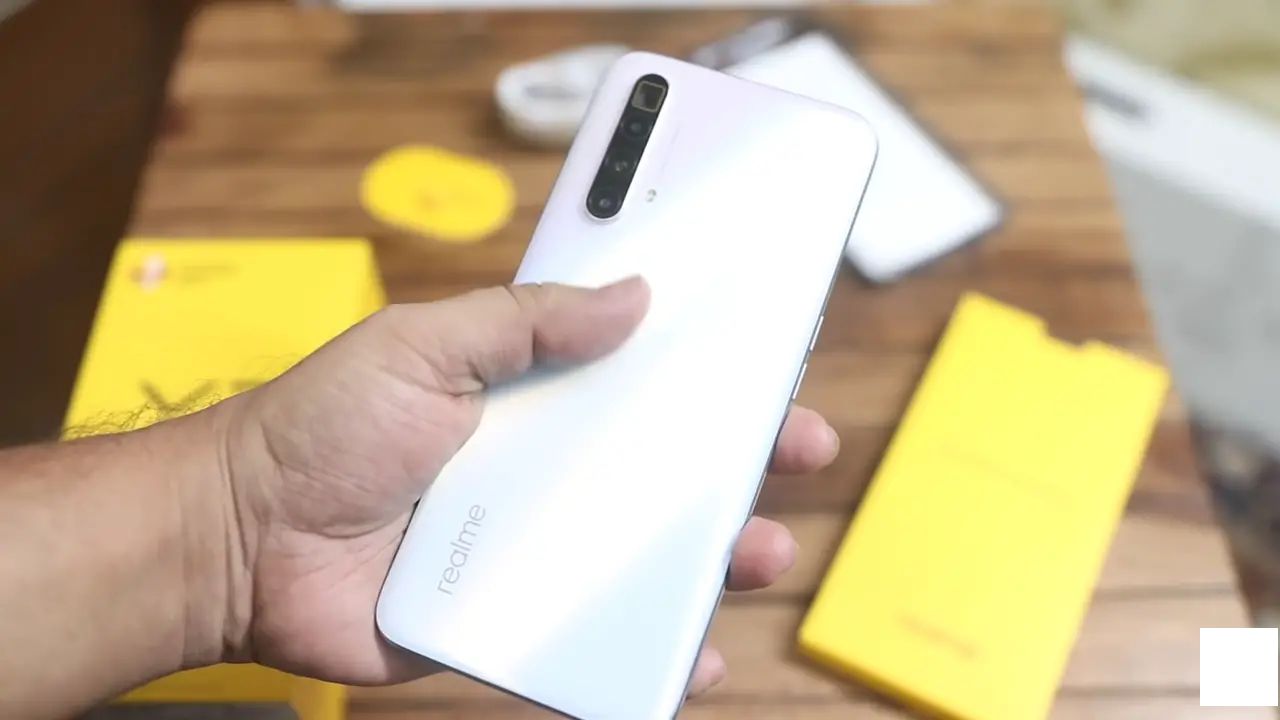
The Realme X3 mirrors a plastic frame, echoing the same material for its rear panel. The rear gradient mimics the Realme 6, though it also comes in eye-catching Blue and Green hues.
With a featherweight 184-gram build, Nord trumps the 202-gram X3, shedding ounces without skimping on size. Both phones showcase twin punch-hole displays for a seamless viewing experience.
Winner: OnePlus Nord
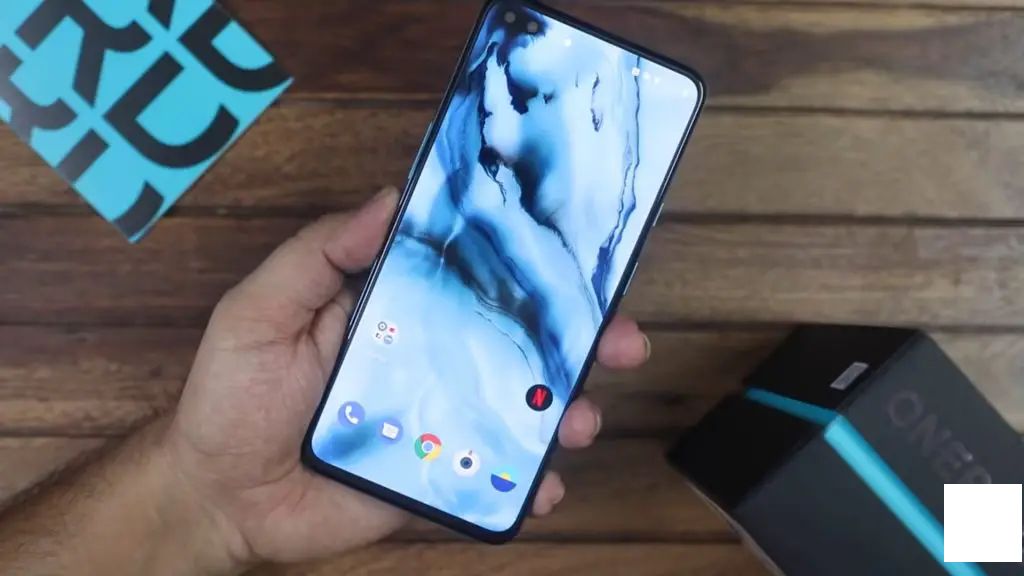
Immerse yourself in the Nord’s 6.4-inch Fluid AMOLED display, boasting a full-HD+ clarity and 90Hz refresh rate. A bright 1,000 nits HDR10+面板 guarantees an immersive experience, with a screen-to-body ratio optimized at 91.4%.
The Realme X3 ups the ante with a 6.6-inch IPS LCD panel that matches full-HD+ with a 120Hz refresh rate. Despite HD+ resolution, it provides a highly comparable 91.5% screen-to-body ratio and HDR10+ compatibility.

Nord’s display outshines with vibrant hues and deeper contrasts, a clear cut above the X3’s LCD panel that can’t quite match its energy.
Glass protection with Corning Gorilla Glass 5 is standard fare for both.
Winner: OnePlus Nord
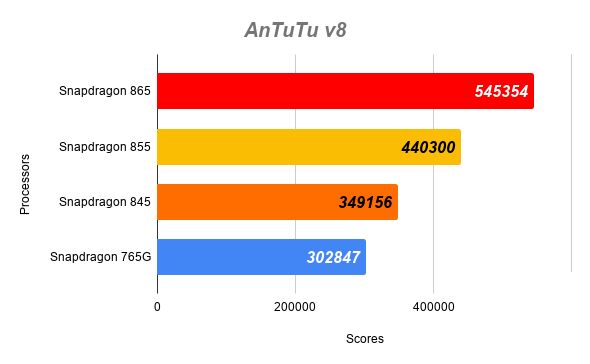
The OnePlus Nord hums with the Snapdragon 765G芯片, its 7nm prowess supplied by Kryo 475 cores running up to 2.4GHz. The Adreno 620 GPU brings the visuals to life and 5G into the fray.
The Realme X3 opts for the premium Snapdragon 855+ chipsets with Kryo 485 cores, each clocked at a bracing 2.8GHz power. The Adreno 640 GPU takes graphics to new heights.
While the Nord handles daily tasks with ease, don’t expect short of flagships from the muscular X3, well-suited for grueling games and multitasking. Plus, a sturdier UFS 3.0 storage option is deployed in the X3, edging out the Nord’s UFS 2.1.
Winner: Realme X3

Opt for the stripped-down Oxygen OS on Nord for an Android.com experience that promises high-fidelity customization. The Realme X3 reinvents its interface with the practical Realme UI.
With Oxygen OS offering a polished, purist Android interface, the horizon for victory divides along personal taste.
Winner: Matter of Taste
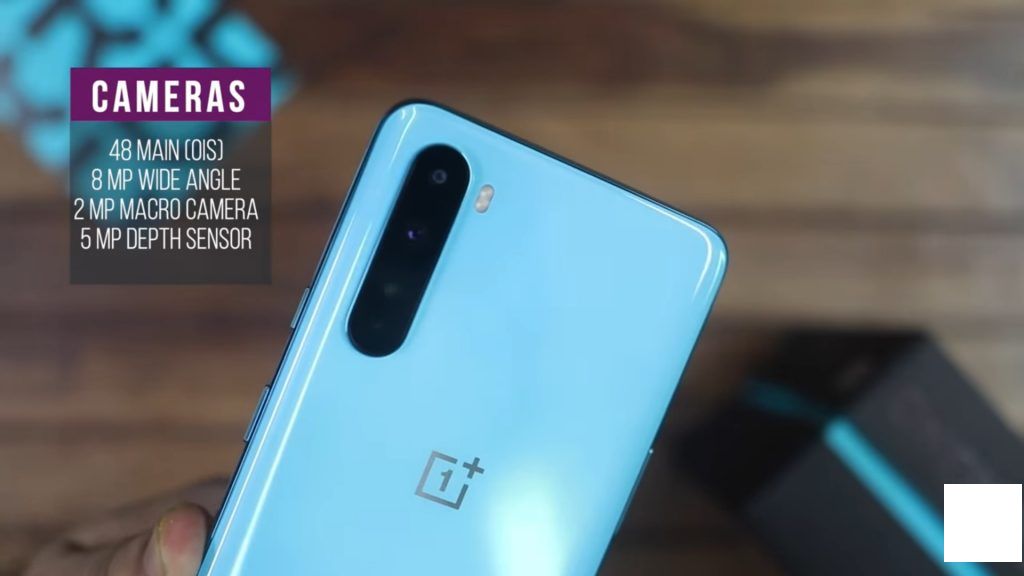

On the rear, Nord boasts a 48MP Sony IMX 586, a 765G favorite, bolstered by an 8MP ultra-wide, 5MP macros, and a depth sensor. The Realme X3, with a 64MP GW1, pairs with a 12MP teleWide, an 8MP ultra-wide, and a 2MP macro, offering a more flexible camera system on paper.
While the X3 ticks an additional box in megapixel harmony, we look forward to a hands-on to discern the gap.
Winner: Realme X3
The Nord prevails with a robust 32MP Sony IMX 616 for selfies, a matchmaker to a wide-angle 105-degree 8MP shooter. Simultaneously, the X3 sticks with a 16MP Sony IMX 471 anchor and a 105-degree 8MP3 Santa Clause for a conventional dual-selfie front.
With the Nord's high-resolution sensor notching great selfies, the X3's sensor, while no less competent, can't best the Nord's selfie prowess.
Winner: OnePlus Nord

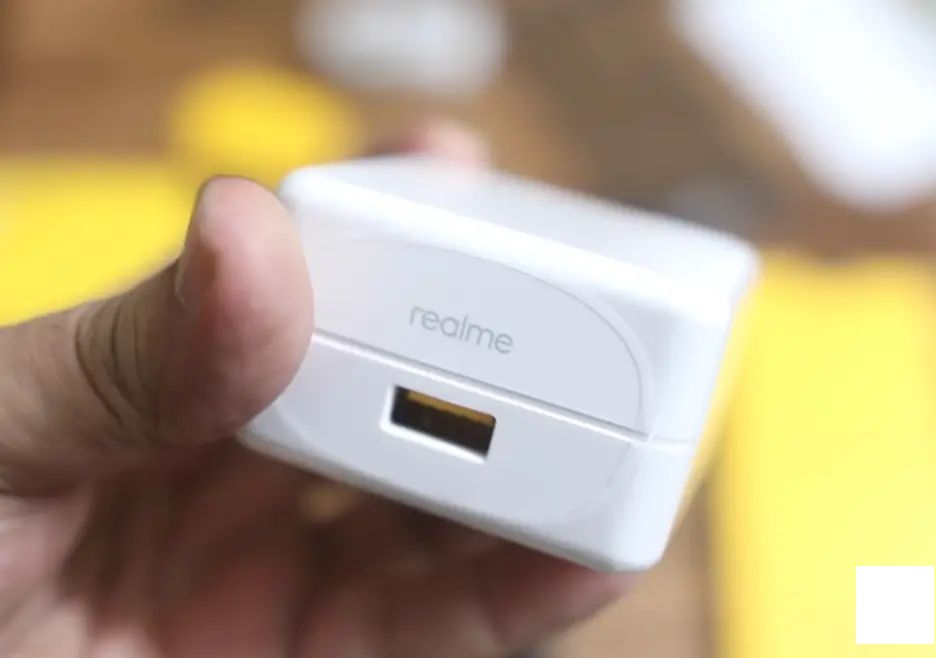
When it comes to the battery equation, both touts a 4,110mAh battery for the Nord, with 30W Warp Charging to really set your techno-spiration free.
The Extra X3 touts a 4,200mAh battery for the X3, pumped up with 30W Dart Charging,→️
Winner: Stalemate
The Nord′s base model clocks in at Rs 24,999 with 6GB RAM and 64GB storage, branching to 8GB/128GB at Rs 27,999, culminating with the 8GB/256GB model for Rs 29,999.
The X3 plants its stake at Rs 24,999 for the 6GB/128GB combo, while the beefier 8GB variant rises to Rs 25,999. The X3 SuperZoom, a periscope per Excellence, sums up to Rs 27,999 for the 8GB/128GB combo.
The OnePlus Nord rebukes the contemporary form atop its class in design, 5G accessibility, and a polished Oxygen OS interface. Conversely, its formidable rival, the Realme X3, wins kudos for its scalpel-like Snapdragon processor, high refresh screen, and diamond-eater cameras.
S лишены первых и проверьте исходные данные для базовый вариант и дополнительные вариации мобильных телефонов. The breadth of functionality on each is immense, with common ground stabilized by economies of scale. The ultimate decision hinges on your inclination, like a compass honeycomb, needing guidance.
Certainly! Here's a revised version of the copy:Idea Whiz Pro with a 4-Inch Display and Dual-Core Processor2024-09-21 12:37
**LG Unveils Delay for G7 Launch; Exciting New Design and Upgrades Anticipated2024-09-21 12:08
[Guide]: Reviving an Unresponsive Android Device with a Non-Removable Battery2024-09-21 12:06
Introducing the New Honor Holly 2 Plus: Available for Purchase at Midnight on February 15th!2024-09-21 12:06
**MTNL Enhances 3G offerings in Delhi: Enjoy 1.5x the Data with Latest Plan Upgrades2024-09-21 11:50
Title: Xioami Redmi S2 Unveiled in China: Detailed Review of Price, Features, and Specifications2024-09-21 10:13