您的当前位置:首页 > TG > ### InFocus M680 vs. Lenovo K4 Note: Detailed Comparison with Pros & ConsDelve into a comprehensive head-to-head battle between the InFocus M680 and the Lenovo K4 Note. This article delves into the strengths and weaknesses of each smartphone, providing you with a detailed comparison to help you make an informed choice. 正文

### InFocus M680 vs. Lenovo K4 Note: Detailed Comparison with Pros & ConsDelve into a comprehensive head-to-head battle between the InFocus M680 and the Lenovo K4 Note. This article delves into the strengths and weaknesses of each smartphone, providing you with a detailed comparison to help you make an informed choice.

时间:2024-09-21 05:46:35 来源:网络整理 编辑:TG

核心提示

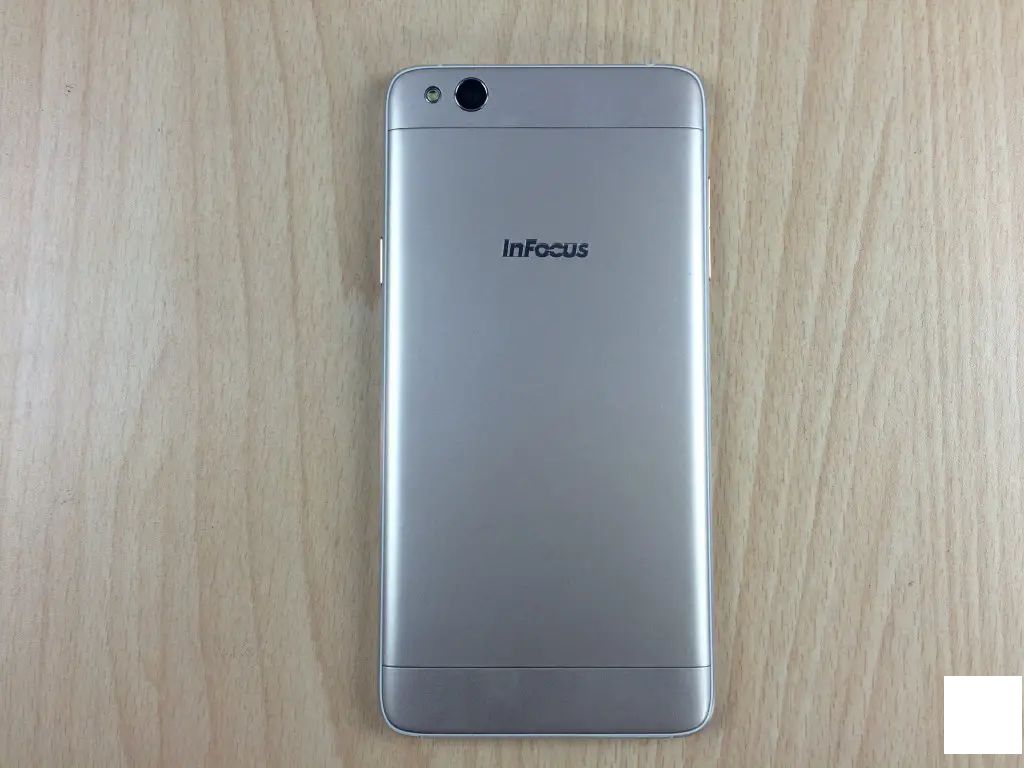
NoteworthyFeatures[tableid=309/]HighlightListDisplayandDesignHigh-resolutiondisplayforimmersiveviewi

Noteworthy Features

[table id=309 /]

Highlight List

Display and Design

  • High-resolution display for immersive viewing experiences
  • Futuristic design for a sleek and stylish look
  • Sturdy construction for longevity

Performance and Storage

  • Powerful processor for smooth multitasking

Cameras and Entertainment

  • High-quality cameras for stunning photos and videos
  • Integrated entertainment features for a fun-filled experience

Battery Life and Connectivity

  • Extended battery life for all-day usage
  • Convenient connectivity options for seamless experiences

Additional Perks

  • Advanced security features with fingerprint scanner
  • NFC chip for seamless mobile payments

Competitive Edge

Comparative Analysis

Lenovo K4 Note vs InFocus M680

Comprehensive Specs Comparison

Lenovo K4 Note

InFocus M680

Verdict

The Lenovo K4 Note stands out with its advanced fingerprint scanner and NFC capabilities, offering a richer feature set than the InFocus M680.

Conclusion

上一篇:Title: Identifying Viruses on Your Android Device: A Comprehensive Guide---Are you worried your Android phone might be infected with a virus? Don't let the unknown scare you; here's a detailed guide on how to detect and deal with viruses on your Android device.### Step-by-Step Guide to Detecting a Virus on Your Android Phone1. **Observe Unusual Behavior:** - Keep an eye out for your phone running slower than usual. - Notice if it overheats or reboots randomly. - Look out for thousands of pop-up ads or spammy messages.2. **Check Permissions:** - Go to 'Settings' > 'Apps & notifications'. - Review the permissions given to each app and ensure they are appropriate and not excessive.3. **Use a Mobile Security App:** - Install a reputable antivirus or security app from the Google Play Store. - Run a full scan to detect any known viruses or malware.4. **Update Apps and Operating System:** - Keep all your apps up-to-date to ensure security patches are installed. - Regularly update your Android OS to the latest version for enhanced protection.5. **Review Your Download Sources:** - Verify that the apps you download are from known and reputable sources such as Google Play Store. - Be cautious of third-party app stores which may carry malicious software.6. **Uninstall Unrecognized Apps:** - Check your app drawer for any apps that you don't recognize or remember installing. - Delete these apps cautiously, ensuring they are not system apps which can be harmful to remove.7. **Use Caution with Unknown Links and Emails:** - Be wary of clicking on suspicious links in messages, emails, or social media. - Avoid downloading files from untrusted sources.8. **Enable Safe Browsing:** - In Google Chrome, ensure Safe Browsing is enabled to help protect against malicious websites.9. **Backup Your Data:** - Regularly backup your data to a secure, remote location; this can be done via Google Drive, Dropbox, or other cloud services.10. **Seek Professional Help If Needed:** - If you suspect a virus but are unable to remove it, seek help from a professional technician.### Final Tips- Regularly educate yourself on common cyber threats to stay one step ahead of potential dangers.- Always be cautious when downloading apps or clicking on links, especially if you're not sure of their source.By following these steps, you can help ensure your Android phone stays virus-free and performs at its best.
下一篇:### How to Enable or Disable Smart Replies in Google Chat#### Enable Smart Replies in Google ChatFollow these steps to enable Smart Replies in Google Chat, enhancing your messaging experience with quick responses:1. **Open Google Chat**: Access the Google Chat app from your computer, tablet, or smartphone. 2. **Access Chat Settings**: - **In Desktop and Web**: Click on your profile icon in the top-right corner and select “Settings” from the dropdown menu. - **In Mobile**: Tap on the profile icon at the bottom-right corner of the screen and scroll to “Settings.”3. **Navigate to the Chat Setting**: Look for the “Chat settings” section and click on it to reveal further options.4. **Enable Smart Reply**: Scroll through the options until you find “Smart Reply.” Toggle the switch to the “On” position to enable Smart Reply.5. **Confirm Your Changes**: Once Smart Reply is enabled, save your settings. You may need to refresh the app for the changes to take effect.#### Disable Smart Replies in Google ChatIf you prefer not to use Smart Replies or wish to switch them off at any point, follow these steps:1. **Open Google Chat**: Ensure you are in the Google Chat app on any of your devices.2. **Access Chat Settings**: - **In Desktop and Web**: Click your profile icon and choose “Settings” from the dropdown menu. - **In Mobile**: Tap the profile icon in the bottom-right corner and scroll to “Settings.”3. **Navigate to the Chat Setting**: Go back to the “Chat settings” section and click on it.4. **Disable Smart Reply**: Locate the “Smart Reply” option and toggle the switch to the “Off” position to disable Smart Reply.5. **Save Changes**: Save your settings, and refresh the app if necessary for the change to be applied.With these straightforward steps, you can easily manage whether or not Smart Replies are enabled in your Google Chat experience.