您的当前位置:首页 > Telegram Premium > ### Welcome Back: Rediscover the Blue Tick on Twitter – Step-by-Step Guide! 正文

### Welcome Back: Rediscover the Blue Tick on Twitter – Step-by-Step Guide!

时间:2024-09-21 04:19:43 来源:网络整理 编辑:Telegram Premium

核心提示

TheTwitterbluecheckmark标识让知名人士和其他杰出人物有了向他人宣布自己真实身份、并非冒名顶替的有效途径。然而,因其遭受批评,Twitter自2017年起关闭了验证项目。如今,公司

The Twitter blue checkmark标识让知名人士和其他杰出人物有了向他人宣布自己真实身份、并非冒名顶替的有效途径。然而,因其遭受批评,Twitter自2017年起关闭了验证项目。如今,公司终于重新推出此方案,作为账户设置的独立功能。下面,我将分享一些简单步骤,助你轻松获得Twitter蓝标。

相关阅读 | Twitter黄金验证标:功能,如何申请?

相关阅读 | Twitter黄金验证标:功能,如何申请?

Twitter验证流程

过去,Twitter有一个验证表单,用户可以通过提供身份证明和说明为何要验证身份来申请蓝标。Twitter会据此批准或拒绝请求。此次,这一功能可通过应用内实现。

获得Twitter蓝标的要求

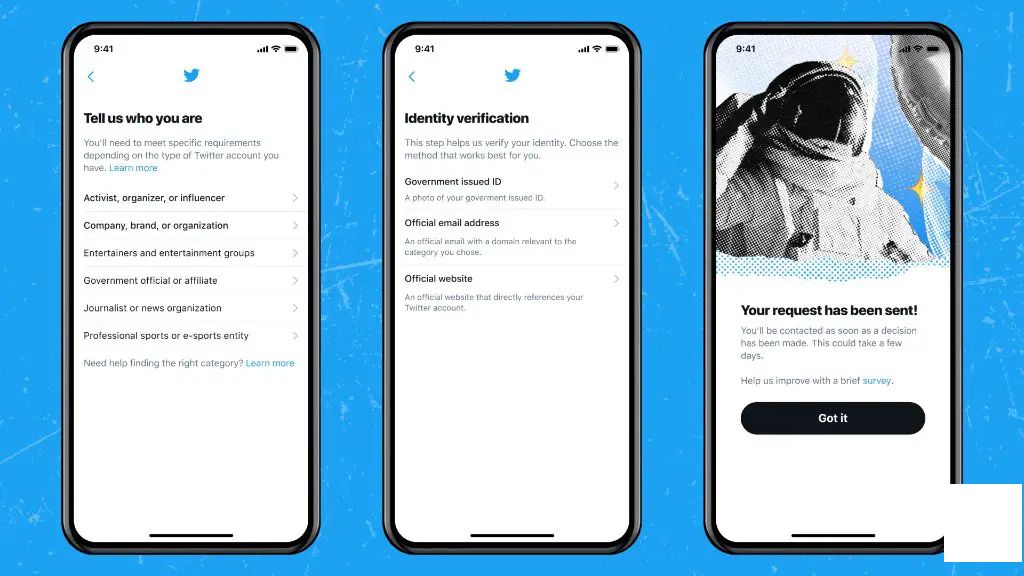
为了符合Twitter验证资格,你的账户必须满足社交媒体公司设定的条件。首先,你的账户必须属于以下六个分类之一。目前,六个可验证账户类别包括:

  • 政府,
  • 公司、品牌和机构
  • 新闻媒体和记者
  • 娱乐
  • 体育和游戏
  • 活动家、组织者和其他影响力人士。
  • 除此之外,你的账户必须有一个名字、用户头像、有效的邮箱或电话(过去6个月活跃)。你的账户还应遵守Twitter规则。目前尚不清楚是否存在验证所需的最小粉丝数要求。

    阅读更多 | [指南] 在Android,iOS上使用Twitter Spaces创建和加入音频聊天

    阅读更多 | [指南] 在Android,iOS上使用Twitter Spaces创建和加入音频聊天

    获得Twitter蓝标步骤

    遵循以下步骤,在Twitter上获得验证:

    1. 在手机上打开Twitter应用,点击左上角的三个水平线菜单。

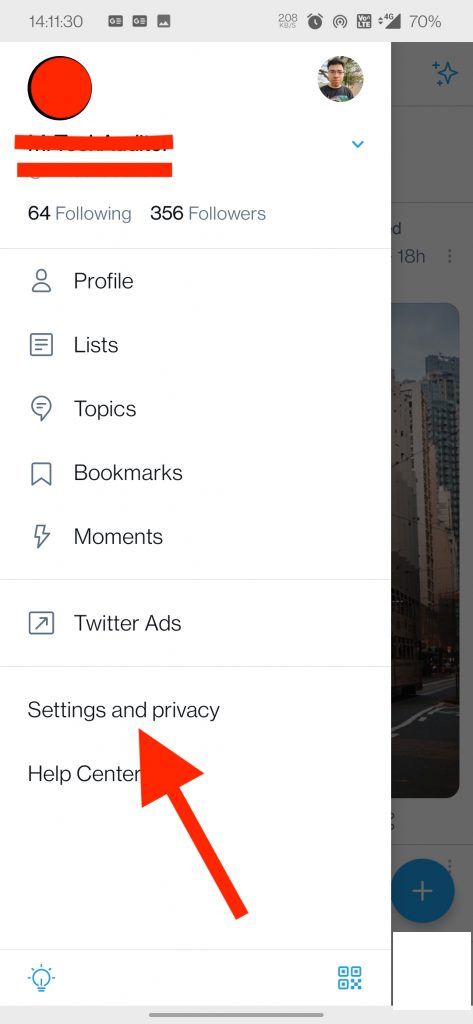
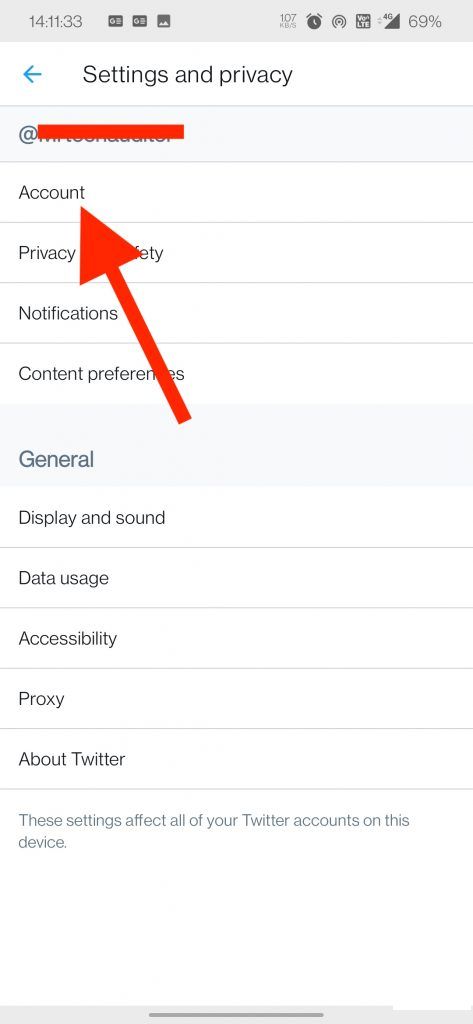
    2. 然后,点击“设置和个人信息”,接着选择“账户”。
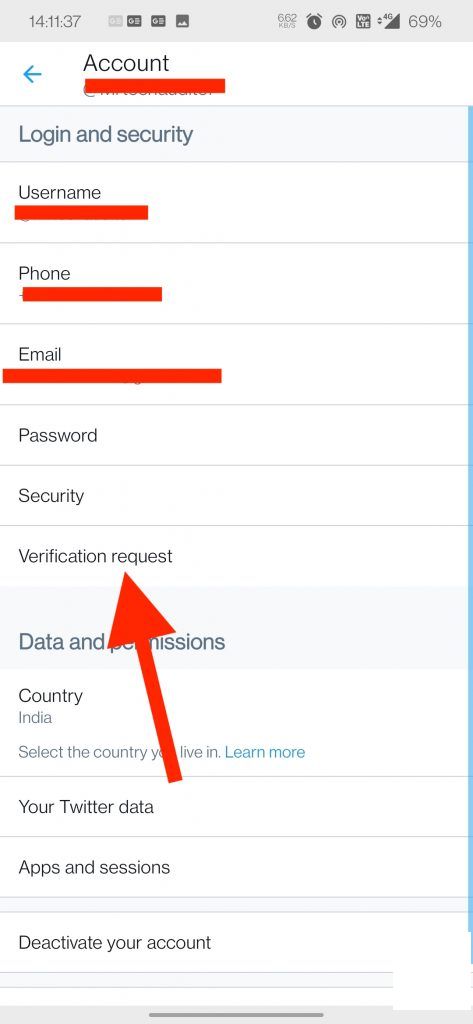
    “设置和个人信息”“账户”

    3. 在账户设置页面,你会看到一个新选项“验证请求”,位于安全选项下方。点击它。

    “验证请求”

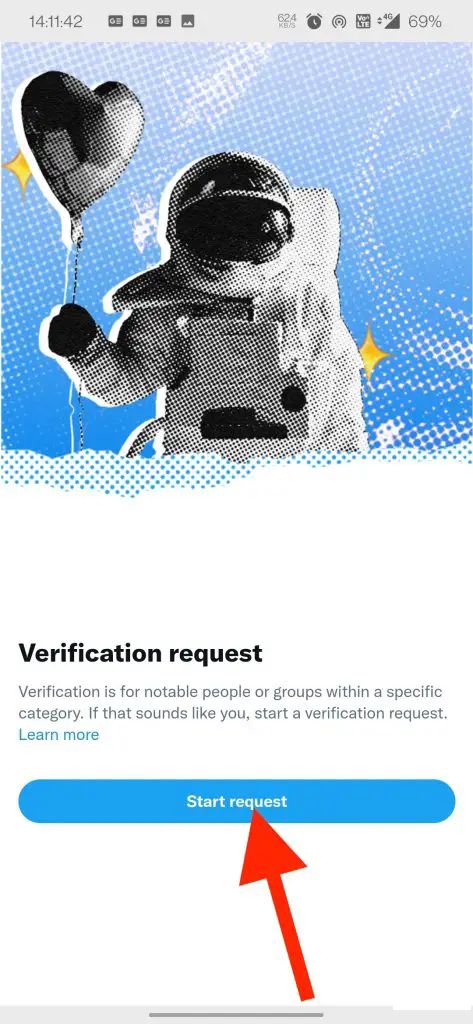
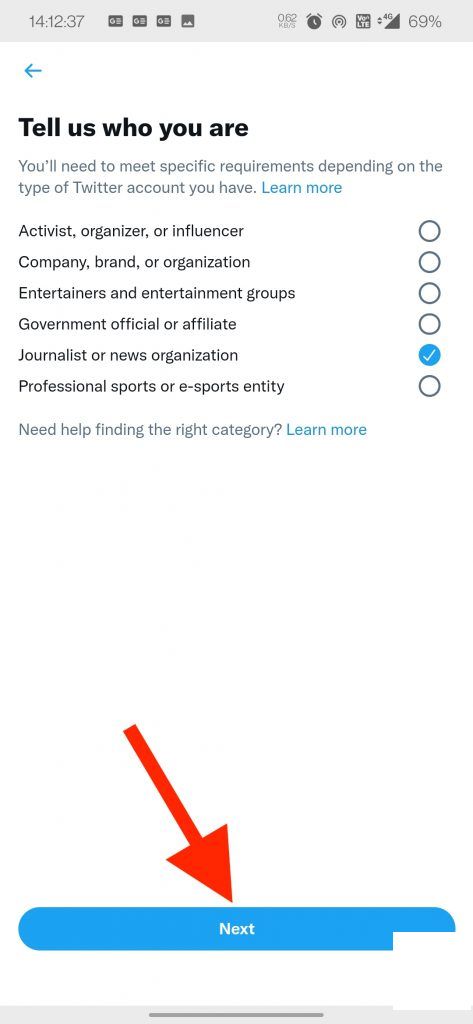
    4. 接下来,点击“开始请求”,然后从六个选项中选择你的账户类别。点击“下一步”。
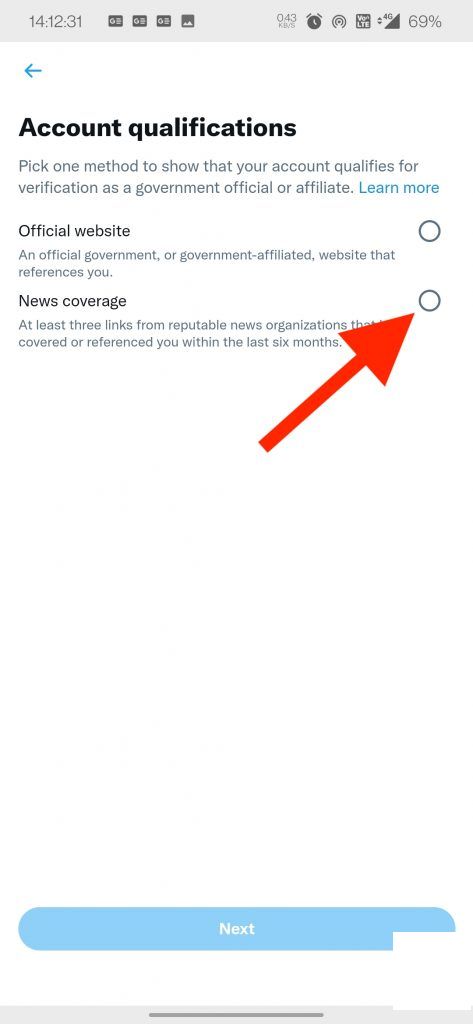
    “开始请求”“下一步”

    5. 在下一页,通过选择证明你账户符合验证资格的方法来选择账户资格,然后点击“下一步”。

    账户资格“下一步”

    6. 然后,选择你的账户类型,并输入账户信誉详情,包括公开表现网址和至少来自知名机构的三个新闻引用链接。再次点击“下一步”。

    账户类型账户信誉“下一步”

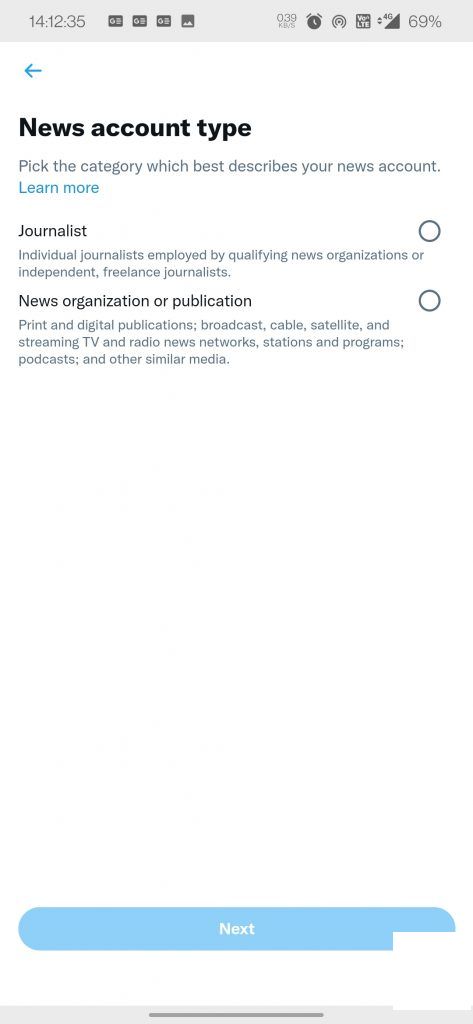
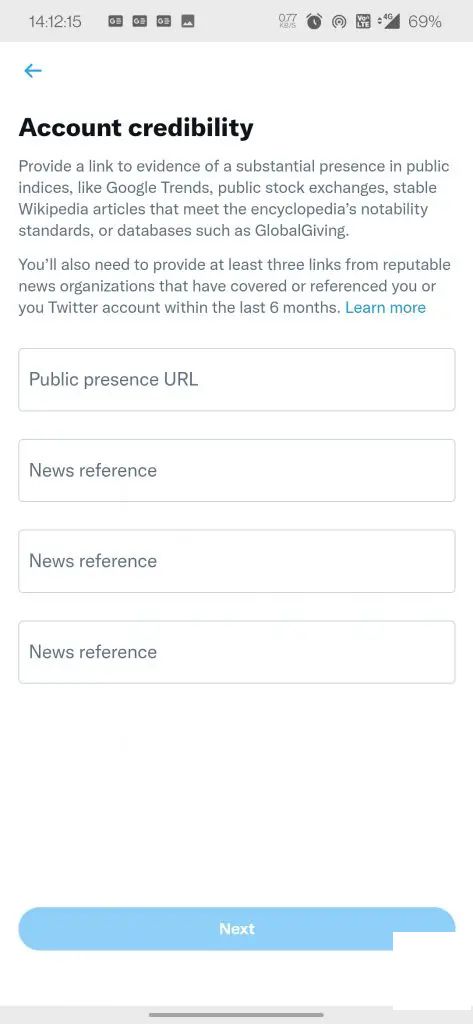
    完成以上步骤后,你的验证请求将会被发送至Twitter进行审批。如果申请获得批准,Twitter将在你的个人资料中展示蓝标。否则,你可以在收到Twitter决定后的一个月(30天)重新提交申请。

    就这样,你可以申请并获得Twitter蓝标。如果你尚未在应用中看到这一功能,请稍等,Twitter正在进行分阶段推出,你可能在接下来的几周内看到。

    上一篇:Certainly! Here's a revised version of the copy, tailored to the new content:---**Step-by-Step Guide: Transitioning to the Most Economical Google Workspace Plan**Are you looking to minimize your business expenses without compromising on efficiency? Learn how to downgrade to the most affordable Google Workspace plan in just a few simple steps.### How to Downgrade to Google Workspace’s Cheapest Plan:1. **Log in to your Google Workspace account**: - Access the dashboard. Ensure you're signed in with the account that has administrative privileges.2. **Navigate to the Admin console**: - Click on the gear icon in the upper right corner of your screen to open the Admin console.3. **Select the Users section**: - In the Admin console menu on the left side, click on Users to locate your list of users or directly search for a particular user.4. **Choose the user or users to update**: - Check the boxes next to the users whose plan you wish to change.5. **Edit user plans**: - Hover over the user’s row or select them individually to open the user menu. Choose “Edit” or “Plan” depending on the current screen layout.6. **Select a new plan**: - In the user’s settings, scroll down to the pricing section (it may be titled Pricing plan). - Choose the cheapest available plan from the dropdown menu.7. **Save your changes**: - After selecting the new plan, click “Save” to apply the changes.8. **Review your billing cycle**: - Check your billing details to ensure the correct plan is reflected in your upcoming bills.9. **Notify users (if applicable)**: - Inform any users affected by the plan change about the updates and any potential changes in functionality or access.Remember, any changes can take up to 24 hours to take effect. By following these steps, you can ensure a smooth transition to the most cost-effective Google Workspace plan without disrupting your team's workflow.*Brighten your financial outlook and streamline your operations—downgrade to the cheapest plan today!*---This revision ensures clarity and simplicity while providing a straightforward guide for the reader.