您的当前位置:首页 > Paper Plane > Absolutely! Here's a revised version of your copy with the new content:" tout brighten your smartphone experience with the OneUI Notification Shade. Transform any device into a sleek, seamless interface that2 reflects the sophisticated style of Samsung’s signature design. Elevate your notifications and customization with the OneUI Notification Shade." 正文

Absolutely! Here's a revised version of your copy with the new content:" tout brighten your smartphone experience with the OneUI Notification Shade. Transform any device into a sleek, seamless interface that2 reflects the sophisticated style of Samsung’s signature design. Elevate your notifications and customization with the OneUI Notification Shade."

时间:2024-09-21 13:12:49 来源:网络整理 编辑:Paper Plane

核心提示

ImmerseyourselfintheeleganceofSamsung'sOneUI,amasterclassinAndroidcustomizationthat担保effortlessone-h

Immerse yourself in the elegance of Samsung's One UI, a masterclass in Android customization that担保 effortless one-handed interaction. Whether you谐振着同样的美,我们带来了一份惊喜——将OneUI的通知栏魅力移植至您的手机。一款应用,即可让您的手机焕发出OneUI的 notification界面的风采。

独树一帜:个性化通知与快捷设置

这款应用名为“One Shade”,旨在将代表性的OneUI通知栏完美植入至您的手机。应用只需简单覆盖原有的通知栏,新的通知栏便现于眼前。即便如此,您依旧可以通过提供的切换功能轻松访问默认的通知栏。

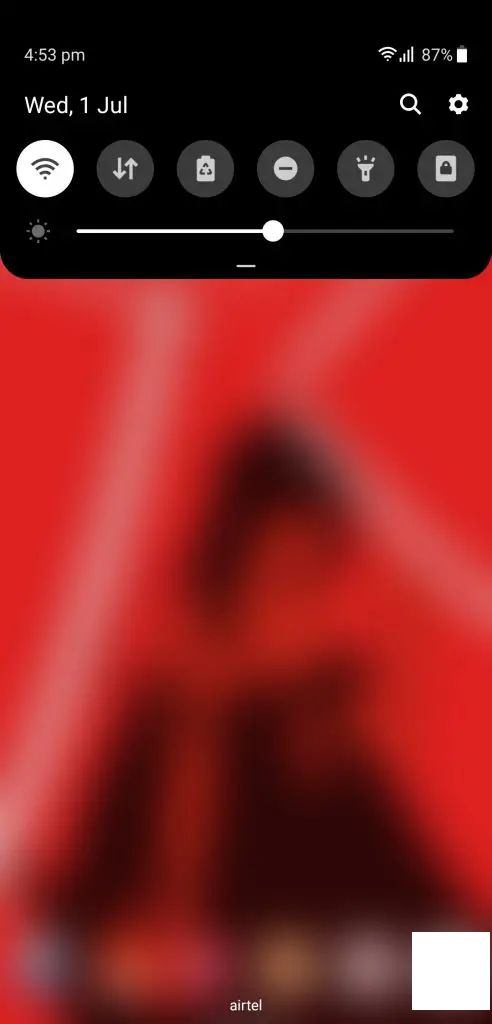
选择性地添加或移除开关,体验One UI般的便捷,众多格子选项供您挑选。更奇妙的是,如果您的设备支持指纹手势,One Shade同样会在使用时弹出,仿佛与原生的通知栏融为一体。体验丰富、免费起步,部分高级功能等待您付费解锁。

功能亮点:布局与色彩定制

在One Shade应用中,您将发现无尽的自定义选项。调节开关颜色、激活状态与禁用状态的色彩,甚至是开关形状。此外,多样化的形状变化将赋予您的通知栏无限可能。

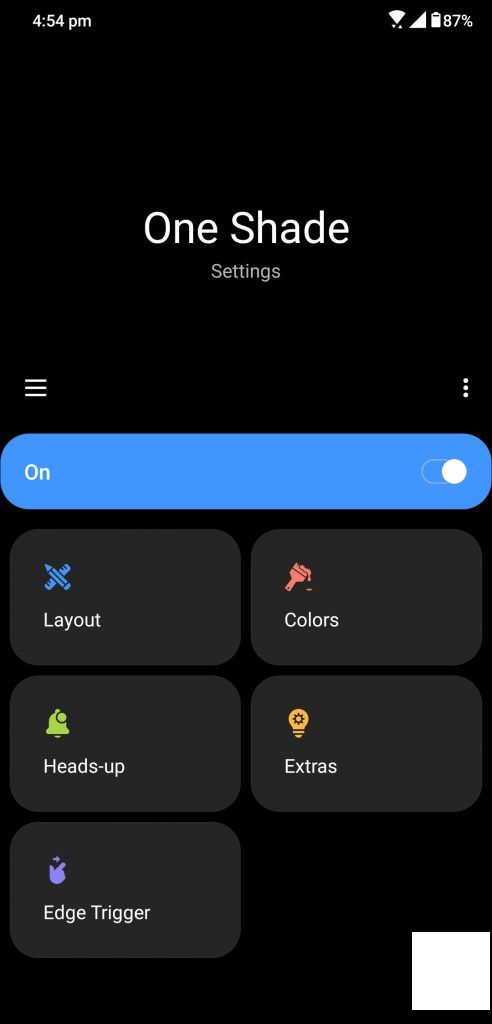
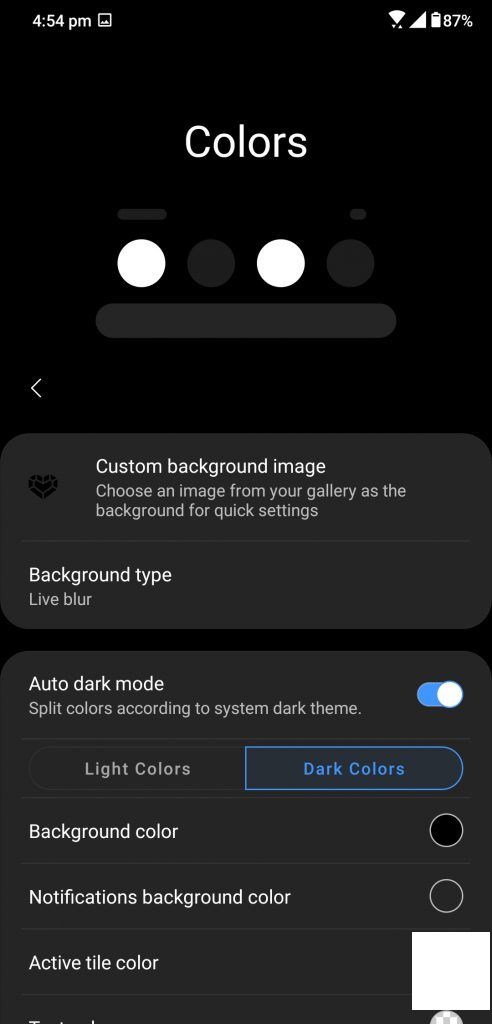
除了布局定制,One Shade还提供了布局优化功能。您可以轻松更改网格类型、边缘到达距离,通过调整行和列布局来改变通知栏样式。从亮度滑块的颜色与样式到背景的模糊或淡出效果,One ShadeYOUR通知界面的无限大。

结语

One Shade不仅仅为您的Android手机带来了One UI的通知栏,更是赋予它超出预期的功能亮点。它不仅模仿,更超越了原生的One UI通知栏。

上一篇:Sure, here's a revised version of the copy:---**How to Request the Removal of Your Data from FaceApp’s Servers**If you wish to have your data deleted from FaceApp’s server, follow these outlined steps to submit a data removal request:1. **Access Your Account** Begin by logging into your FaceApp account with your registered email and password.2. **Navigate to Privacy Settings** Once logged in, search for your account settings or privacy section. This might be listed under a category like Profile, Privacy, or Settings.3. **Find the Data Removal Option** Within the privacy settings, locate the feature or option that pertains to data deletion or user data management. This might be labeled as Delete Data, Delete Account, or something similar.4. **Read the Instructions** Before proceeding, ensure you read the instructions carefully. Deleting your data may result in some services becoming unavailable, and the process is irreversible.5. **Confirm Your Request** If you decide to proceed, confirm your request as prompted. You may need to provide additional information for verification purposes.6. **Check Your Email** After submitting your data removal request, you should receive a confirmation email. If not, check your spam folder.7. **Wait for Confirmation** FaceApp may require some time to process your request. If you do not receive a confirmatory response after a reasonable period, consider reaching out to their customer support.For any further inquiries or assistance, do not hesitate to contact FaceApp’s customer service team.---Remember that once your data is deleted, it may not be recoverable, so make sure you are ready for the change before proceeding.
下一篇:### Install iOS 7 Style Control Center on Your Android DeviceAre you ready to upgrade your Android experience with the sleek, practical design of iOS 7's Control Center? Follow our step-by-step guide to download and install this stylish update on your Android device. Get ready to enjoy lightning-fast access to your favorite features and settings!#### Step-by-Step Instructions:1. **Find a Compatible Control Center App:** - Search for iOS 7 Style Control Center in the Google Play Store to find a variety of apps that mimic this feature.2. **Install the App:** - Once you locate an app that fits your needs, tap Install. The app will be downloaded and installed on your device.3. **@Enable Root Access (If Needed):** - If you're using a rooted device and the app requires root permissions, you’ll need to verify this within the app’s settings.4. **Customize Your Control Center:** - Open the Control Center app to see a menu with various customization options. - Choose which toggles, shortcuts, and apps you want to see in the center. Popular choices include WiFi, Bluetooth, flashlight, and music controls.5. **Access Your Control Center:** - Look for the Control Center icon in your notification shade or app drawer. It will resemble the familiar iOS 7 control icon. - Long press or swipe down from the status bar to reveal the Control Center. From here, you can toggle various settings and open your preferred apps with ease.6. **Synchronize Your Wallpapers and Appearance:** - For the complete iOS 7 experience, you may want to find a suitable wallpaper to match the style of your new Control Center. - Add custom ringtones, notifications sounds, or icons for an even greater personal touch.7. **Update Application Settings:** - Regularly check for app updates within the Google Play Store. These updates ensure the Control Center continues to work seamlessly and includes enhancements.8. **Backup Your Settings:** - To maintain a smooth transition to your new Control Center, periodically back up your current settings, including ringtones, notification sounds, and any other personalization.By following these steps, you should have a rich iOS 7-styleControl Center available on your Android device in no time. Embrace a cleaner and more efficient way to manage your device's settings and integrate premium functionality with your everyday use.