您的当前位置:首页 > TikTok > Enhance Graphics Superpowers with Manual Refresh Rate Control on OnePlus Nord, OnePlus 8, and OnePlus 8 Pro 正文

Enhance Graphics Superpowers with Manual Refresh Rate Control on OnePlus Nord, OnePlus 8, and OnePlus 8 Pro

时间:2024-09-21 15:20:59 来源:网络整理 编辑:TikTok

核心提示

EmpowerYourOnePlusscreenwithtailoredrefreshrates.CustomizeyourOnePlus8,8Pro,orNordbyintegratingathir

Empower Your OnePlus screen with tailored refresh rates. Customize your OnePlus 8, 8 Pro, or Nord by integrating a third-party gem. Switch seamlessly between 60Hz, 90Hz, and 120Hz refresh settings to personalized per-app tuning. Dive into the SOP beneath for OnePlus refresh control excellence.

Read: Decode the High Refresh Rate Apps on Your Device

Read:Discover the Core Apps with Enhanced Refresh Rates on Your Phone

Master Custom Refresh Settings on OnePlus Nord, 8, and 8 Pro

Meet AutoHz – a masterpiece crafted by XDA afficionado arter97. This tool empowers you to personalize screen刷新率 on your OnePlus device. Initially paired with 8 and 8 Pro, it now graces the OnePlus Nord. Buoyant on Android 11’s waves, it sails with OxygenOS 11 Open Beta.

Chart your course if your device is orange ticketed:

  • Install and configure ADB on your digital station.
  • Integrate AutoHz from the digital market - it’s premium sailing.
  • Embark on the one-time sea voyage through ADB. Pair your gadget with your PC with the USB magic. Then command “adb shell pm grant com.arter97.auto90 android.permission.WRITE_SECURE_SETTINGS”.Customize Refresh Settings on OnePlus Nord, 8, and 8 Pro
  • Roll out the invite list as granted, AutoHz will unveil your App registry.
  • Set sail with the toggles to manually alter each app’s refresh pace. Chart them any speed from 60Hz, 90Hz, to 120Hz.

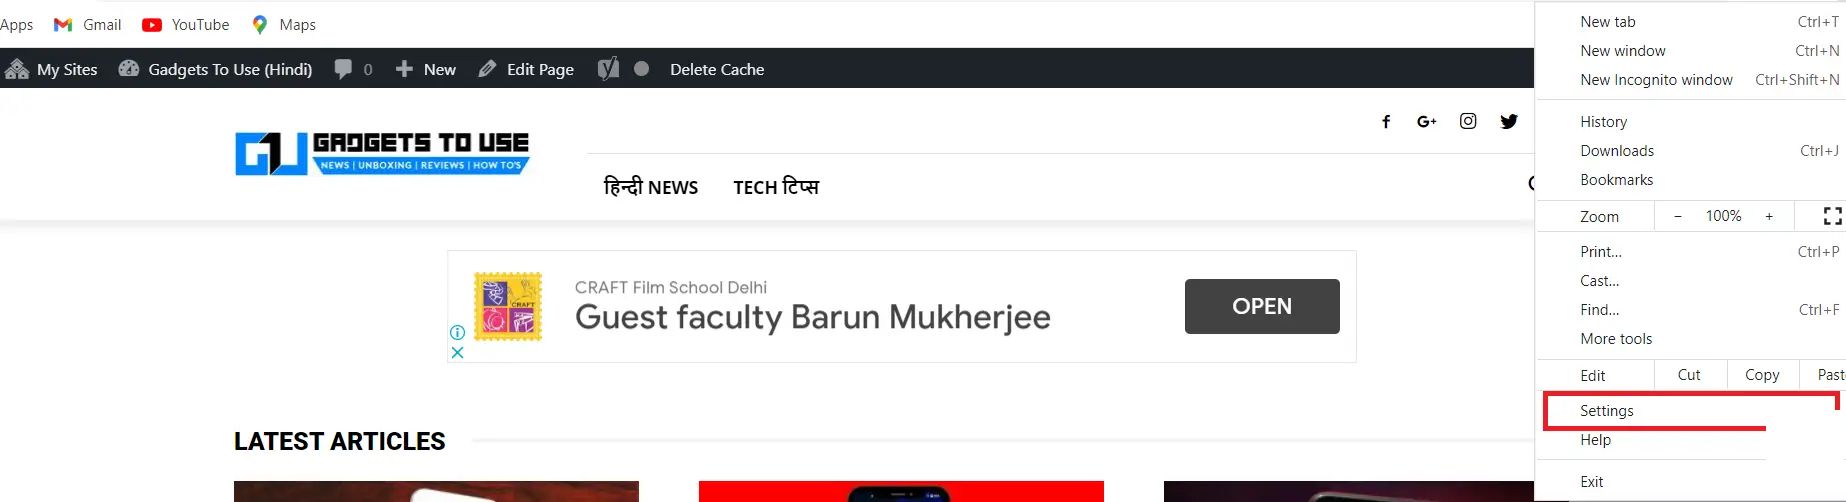
For navigation guidance or if ADB is foggy, the developer’s treasure map awaits.

For a system nature’s pace or mode to take the helm again, just de-activate that toggle. Uninstall, the复位, ADB chart a new course.

上一篇:### WhatsApp Tip: Activating the Fact-Checking Feature for Identifying Fake NewsAre you looking for a way to ensure you're only getting the truth on WhatsApp? Discover how to enable the fact-checking feature to shield yourself from the chaos of fake news. Follow these simple steps to arm yourself with verified information:---Tamperer yourself against the spread of misinformation with WhatsApp's fact-checking feature. Learn how to activate this important tool to factually evaluate the truth behind the messages you receive. **Here’s How:**1. **Update WhatsApp:** - Make sure you're running the latest version of WhatsApp to access the latest features. - Head to the Google Play Store or Apple App Store, search for WhatsApp, update to the most recent version, and install it on your device.2. **Access Settings:** - Open WhatsApp, tap on your profile picture in the upper right corner to access your settings. 3. **Go to Chats:** - Scroll down and tap on 'Chats.' 4. **Enable 'Report Privacy:** - Under the Chats section, turn on 'Report Privacy' to see previous chats that were reported. This helps in identifying patterns of misinformation. 5. **Go to Fact-Checking:** - Switch to the 'Chats' tab (the chats screen) and scroll down to the bottom where you'll find 'requently used features.' - From there, tap on 'Manage frequently used features.' 6. **Select 'Fact Checks':** - Toggle on the feature 'Fact Checks' to add it to your frequently used features. - When it's activated, you'll receive notifications whenever WhatsApp verifies the authenticity of messages.By enabling WhatsApp's integrated fact-checking feature, you're taking a crucial step towards combating fake news. Stay informed and maintain the integrity of your conversations.
下一篇:### Introducing Facebook Gaming App; Get Ready to Stream Live from Your Mobile Device!Elevate your gaming experience to a new level with the newly launched Facebook Gaming App. Whether you're an aspiring streamer or just want to share your gaming adventures with friends, here’s everything you need to know to start live streaming from your smartphone.#### Step-by-Step Guide to Live Streaming with Facebook Gaming App1. **Download the Facebook Gaming App:** - Head to your app store on iOS or Android, search for “Facebook Gaming,” and download the app. 2. **Log in or Create an Account:** - If you already have a Facebook account, sign in using those credentials. - If not, create a new Facebook account to start streaming on your mobile device. 3. **Set Up Your Stream:** - Open the app, and navigate to the live stream feature. - Allow the app to access your camera and microphone to get started. 4. **Customize Your Stream:** - Personalize your stream with fun filters, effects, and overlays. - Add a custom title to catch viewers’ attention, and cover image to represent your brand or gaming persona.5. **Start Broadcasting:** - Once your settings are in place, tap on the “Go Live” button. - Choose whether to use video or go for an audio-only stream, then hit “Start Streaming.”6. **Interact with Viewers:** - While live, engage with your audience by using the chat feature to answer questions, acknowledge likes, and react to comments in real-time. - Encourage your friends to drop in and chat.7. **End Your Stream:** - When you’re ready to wrap up, tap on the “End Stream” button in the app. - Facebook will save your live video so you can share it later, or choose to delete it after the session.#### Join the Gaming Community TodayWith the Facebook Gaming App, there’s never been a better time to share your passion for gaming. Whether you stream casual gameplay, pro-level tournaments, or let your followers in on your game hours, the Facebook Gaming App makes it easy to engage with a global gaming audience. So, grab your smartphone, and get ready to amplify your gaming experience live!