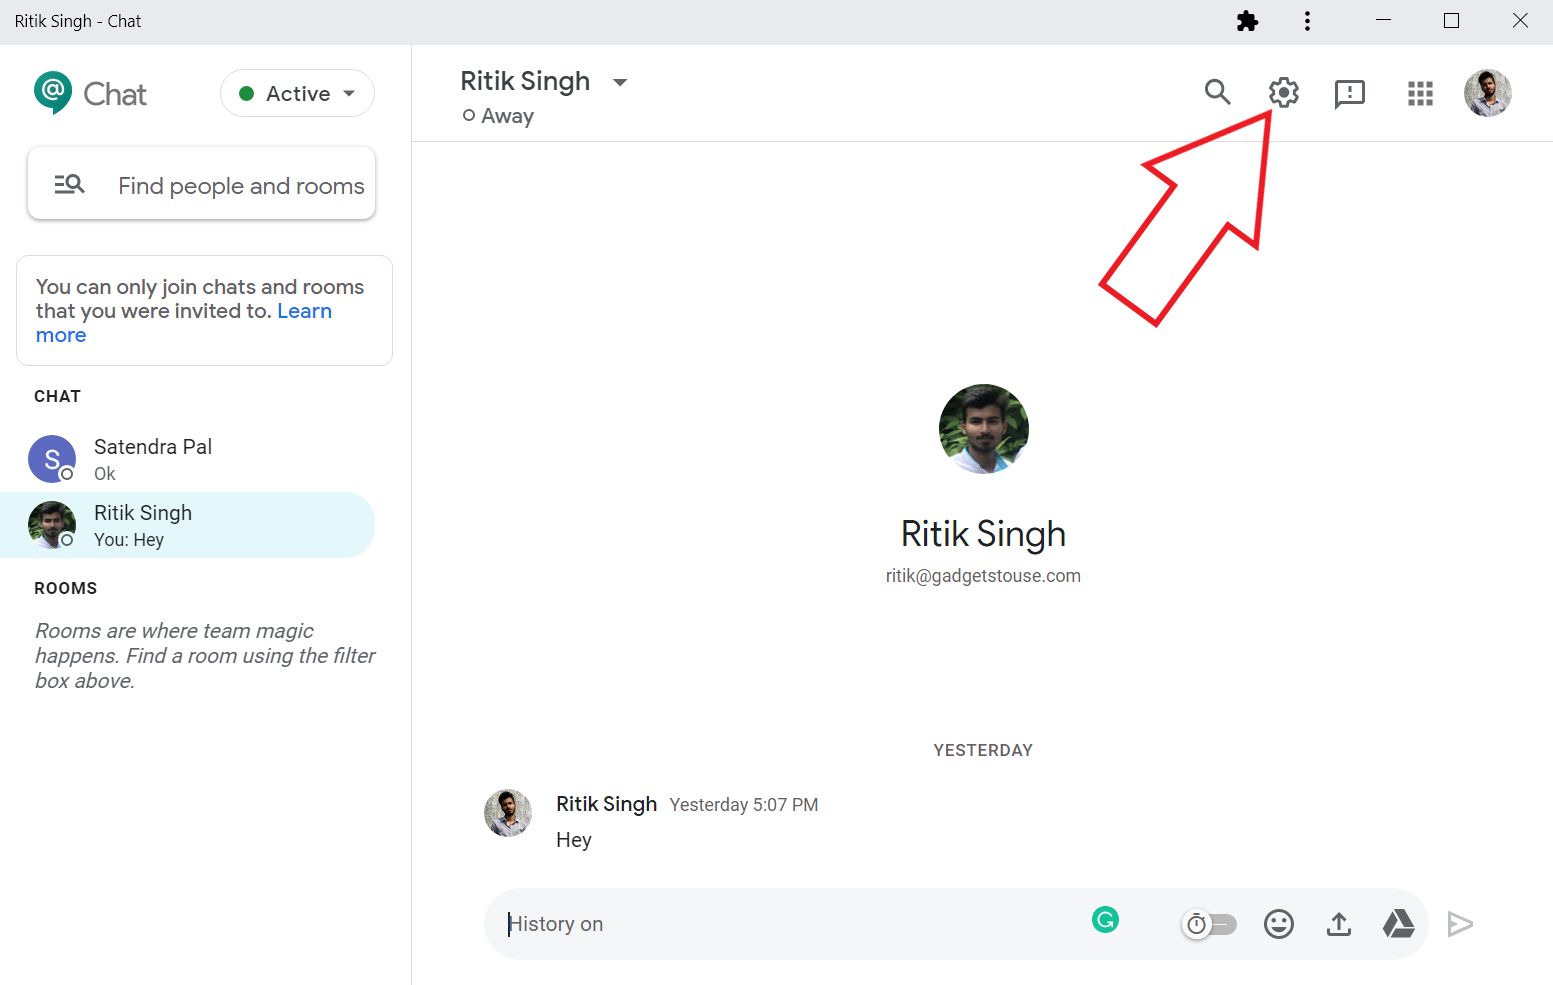
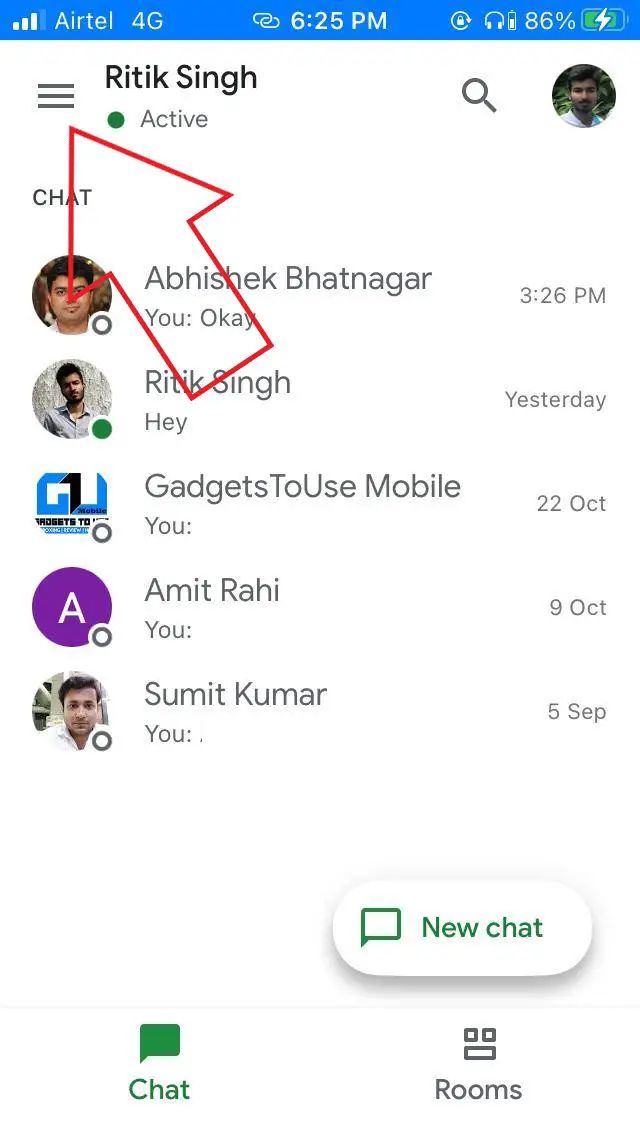
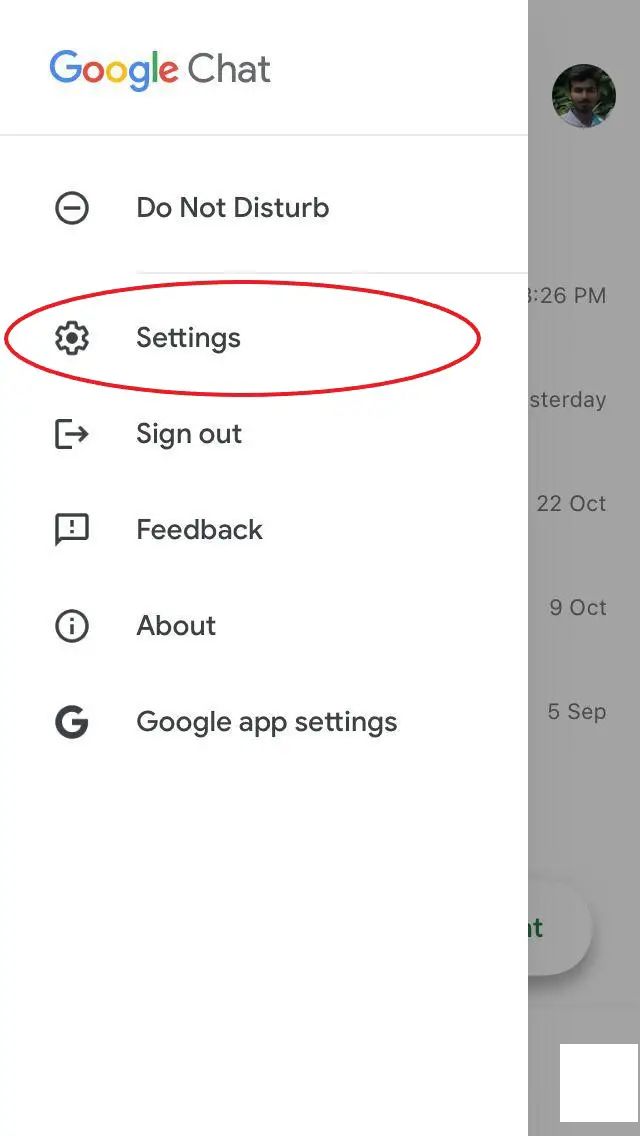
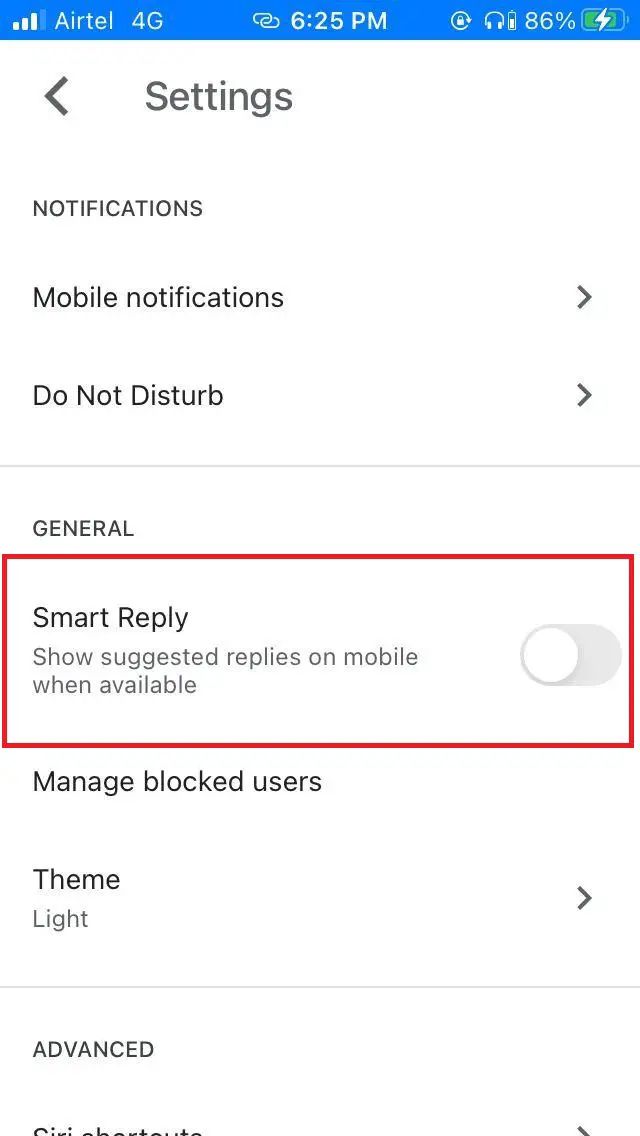
您的当前位置:首页 > WeChat > ### How to Enable or Disable Smart Replies in Google Chat#### Enable Smart Replies in Google ChatFollow these steps to enable Smart Replies in Google Chat, enhancing your messaging experience with quick responses:1. **Open Google Chat**: Access the Google Chat app from your computer, tablet, or smartphone. 2. **Access Chat Settings**: - **In Desktop and Web**: Click on your profile icon in the top-right corner and select “Settings” from the dropdown menu. - **In Mobile**: Tap on the profile icon at the bottom-right corner of the screen and scroll to “Settings.”3. **Navigate to the Chat Setting**: Look for the “Chat settings” section and click on it to reveal further options.4. **Enable Smart Reply**: Scroll through the options until you find “Smart Reply.” Toggle the switch to the “On” position to enable Smart Reply.5. **Confirm Your Changes**: Once Smart Reply is enabled, save your settings. You may need to refresh the app for the changes to take effect.#### Disable Smart Replies in Google ChatIf you prefer not to use Smart Replies or wish to switch them off at any point, follow these steps:1. **Open Google Chat**: Ensure you are in the Google Chat app on any of your devices.2. **Access Chat Settings**: - **In Desktop and Web**: Click your profile icon and choose “Settings” from the dropdown menu. - **In Mobile**: Tap the profile icon in the bottom-right corner and scroll to “Settings.”3. **Navigate to the Chat Setting**: Go back to the “Chat settings” section and click on it.4. **Disable Smart Reply**: Locate the “Smart Reply” option and toggle the switch to the “Off” position to disable Smart Reply.5. **Save Changes**: Save your settings, and refresh the app if necessary for the change to be applied.With these straightforward steps, you can easily manage whether or not Smart Replies are enabled in your Google Chat experience. 正文
时间:2024-09-21 11:34:13 来源:网络整理 编辑:WeChat
ReclaimedIntelligenceinGoogleChat:Onceacherishedupdate,SmartReplieshaveseamlesslytransferredfromHang
Reclaimed Intelligence in Google Chat: Once a cherished update, Smart Replies have seamlessly transferred from Hangouts to the über-modern Google Chat. Their sway is unpredictable, captivating some, while others grumble over their disruptive embrace. We've crafted a miniature manual to_grant or command the Smart Reply phenomenon in Google Chat, whichever is your wish.
SmartReply in Google Chat mirrors its emailing kin. It introduces a trio of machine-inspired responses, tailored to ever-flowing chats, whether solitary or gangster-accompanied. It's a breeze to respond on the fly, without the necessity of a cursor tap or a moment's contemplation.
It's a default AI-partner on the Chat stage. Yet, if these suggestions strike you as more chaos than clarity, they're but a setting change away from being snoozed.
 Invoke
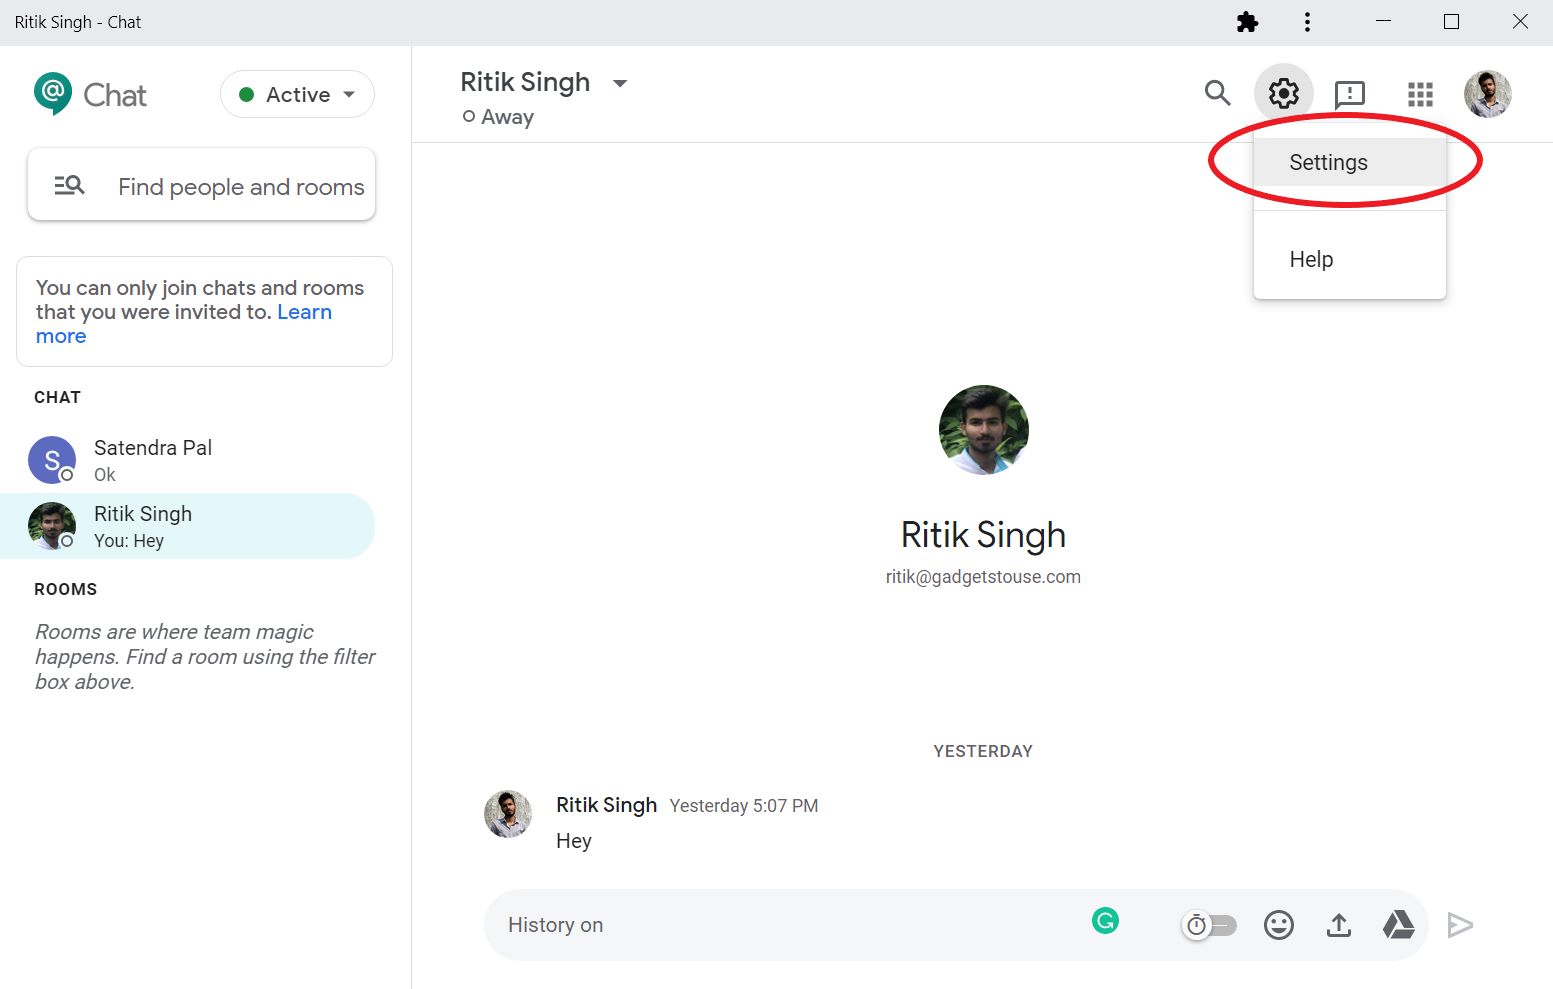 ChooseIntelligence
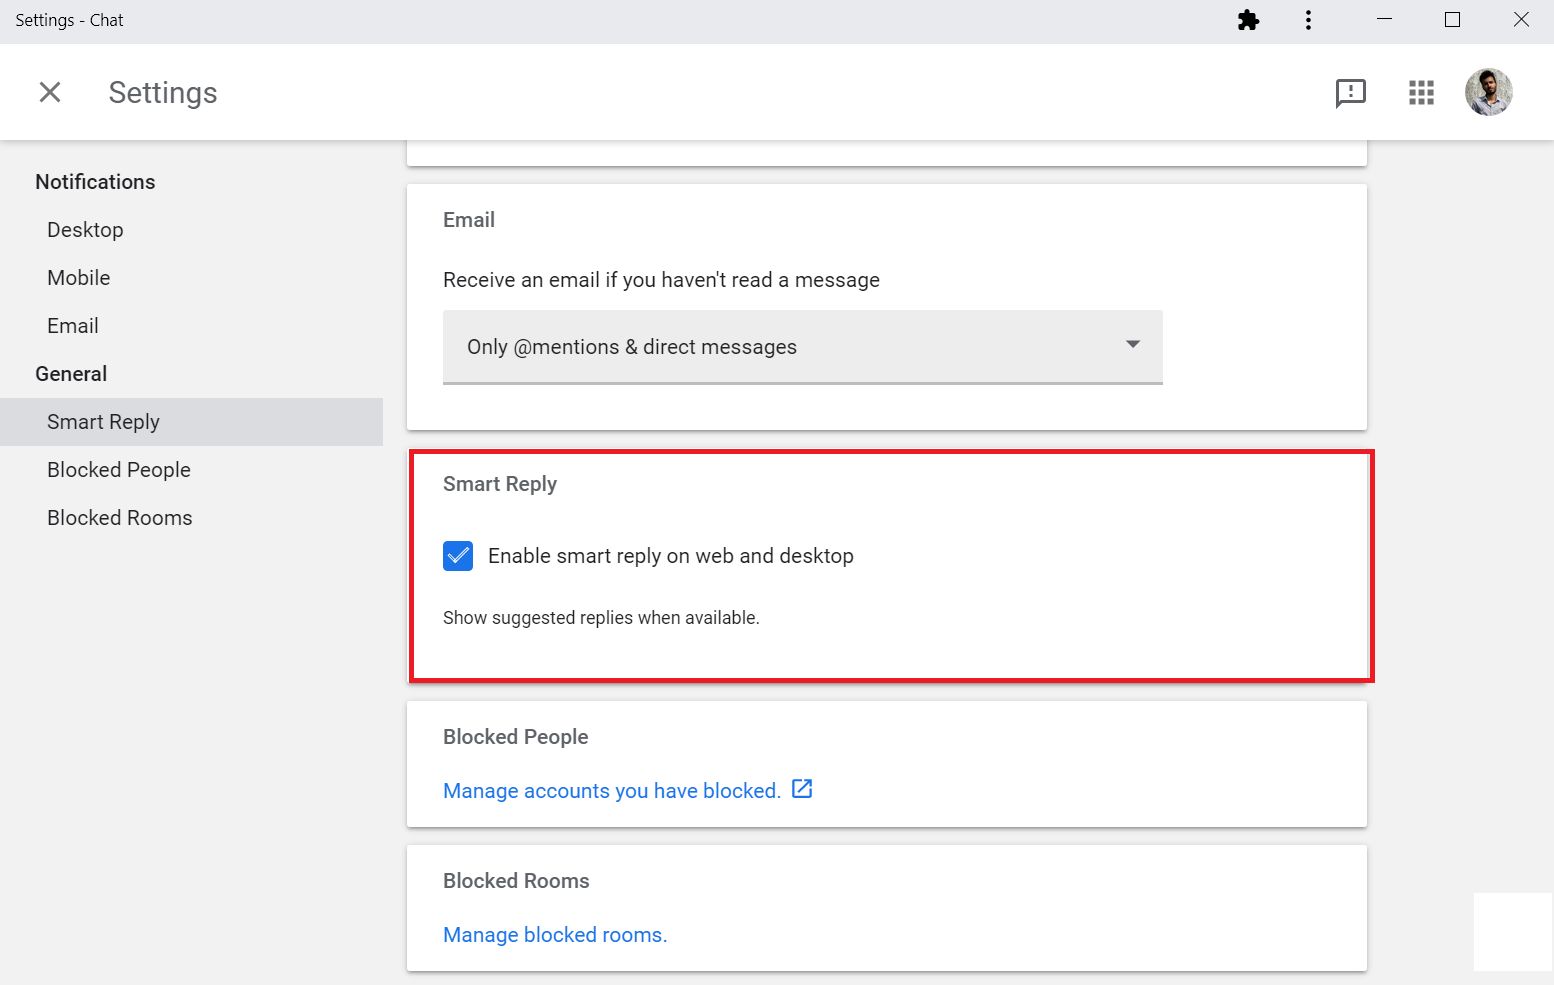
WhatsApp Announces Beta Testing of New 'Suspicious Link Detection' Feature2024-09-21 14:13
Introducing the iOcean X7: With a 5-Inch Full HD Display and 13MP Camera, This Device Set to Launch in India for Just Rs. 11,500 INR2024-09-21 13:07
欣然公告:搭载四镜头相机设置的华为P30 Pro 即将登陆印度;尽享详尽规格及价格信息,请点击此处查阅→2024-09-21 12:35
**Lumia 730 hands-on Experience, Quick Review, Photo Gallery, and Video Showcase2024-09-21 12:27
The BSNL Rs. 1,999 Plan comes with 2GB of daily data and unlimited talktime for an entire year.2024-09-21 12:13
The Zopo Speed 7 Features a Full HD Display and 3GB RAM, Priced at Just 12,999 INR2024-09-21 12:04