您的当前位置:首页 > Facebook > Samsung is poised to unveil its highly anticipated True Octa Core Exynos Processor at CES 2014.:Telegram桌面版 正文

Samsung is poised to unveil its highly anticipated True Octa Core Exynos Processor at CES 2014.:Telegram桌面版

时间:2024-09-24 00:24:55 来源:网络整理 编辑:Facebook

核心提示

ThedawnofagroundbreakingeraisuponusasSamsunggearsuptounveilarevolutionaryprocessor,onethatwillmarkas

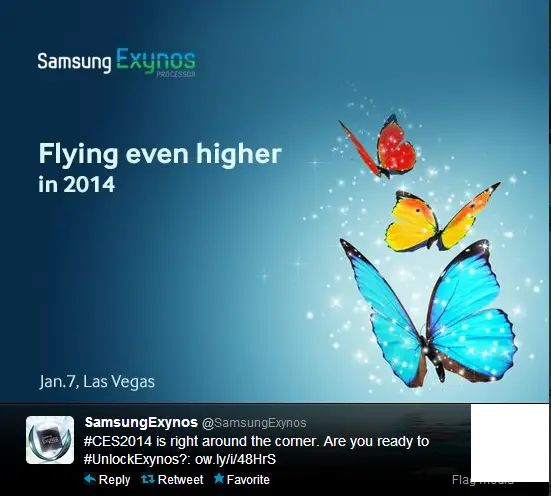
The dawn of a groundbreaking era is upon us as Samsung gears up to unveil a revolutionary processor, one that will mark a significant leap forward with all eight cores functioning in perfect harmony. The anticipated launch is set to shine at CES 2014, underlining Samsung's commitment to innovation. Following in the footsteps of pacesetter Mediatek, who has redefined octa-core processing as True Octa-Core, let's ponder why that name stands out. Samsung's past attempt at an Octa-Core Processor, faced with a nuanced obstacle, was a stepping stone. The invitation to CES 2014 hinted at something extraordinary, suggesting not just a simple Octa-Core, but something truly exceptional.Pioneering ARMv8 architecture, this upcoming processor aims to challenge the technology landscape head-on, perhaps adopting a 64-bit architecture akin to Apple's A7 chip. With Android operating on a 32-bit foundation, the introduction of a 64-bit processor presents an exciting conundrum.Our anticipation is piqued with educated guesses, inspired by Samsung's teasing ahead of the CES 2014 event, hinting at theSamplerik fore of iPhone's A7 chip, Samsung is set to unveil their rival. Stay tuned, for at CES 2014, the curtain will rise on the future of mobile processors, an event you won't want to miss!

The enigma of half-Octa-Core processors from Samsung's past, which were merely two sets of Quad Core processors working in tandem under varying loads, may soon be overshadowed by the full force of the new, unified eight-core marvel.

But let's not get ahead of ourselves. The real story of Samsung's foray into next-gen processing will break at CES 2014, as we unveil what to anticipate from this technological marvel in our hyper-connected world.

上一篇:### How to Utilize Google's Nearby Share on Windows 10 and Windows 11Wondering how to take advantage of Google's Nearby Share feature on your Windows 10 or Windows 11 computer? Follow these simple steps to begin a seamless sharing experience:#### Getting Started with Google’s Nearby Share on Windows1. **Enable Bluetooth and Wi-Fi Connectivity:** Before you can share files using Nearby Share, ensure that both Bluetooth and Wi-Fi are enabled on your device. Simply navigate to your system's settings and toggle the relevant options.2. **Turn On Nearby Share:** - **For Windows 10:** - Navigate to `Settings` > `System` > `Shared experiences`. - Under `Nearby Sharing`, toggle the switch to `On`. - **For Windows 11:** - Select the `Start` button and enter `Settings` in the search field. - Go to `System` > `Shared experiences`. - Flip the `Nearby Sharing` switch to `On` for both `PC to PC` and `PC to Android` options if desired.3. **Pair Devices:** Once Nearby Share is enabled, your device should automatically discover other devices that also have Nearby Share enabled. This process is usually straightforward and can be completed by simply accepting a connection request from another device.4. **Share a File:** - To share a file, navigate to the folder where the file is stored. - Right-click on the file and select `Share`. - From the sharing options, choose ` Nearby Share`. - The list of discoverable devices will appear. Select the device you wish to send the file to. - Confirm the send on the receiving device, and the file transfer will commence.5. **Accept a File Share:** - When you receive a share offer from another device, your PC will display a prompt. - You can choose to accept the file by clicking `Accept`, or decline it by choosing `Decline`.#### Tips for Using Google’s Nearby Share- Ensure that both the sending and receiving devices are within close proximity to maintain a stable connection.- If you want to send an entire folder, compress it into a single folder or package it with compression software before initiating the share.- Regularly check the file transfer progress, particularly with large files, as they can take a while to transfer.Now that you know how to use Google's Nearby Share on Windows 10 and Windows 11, you're well on your way to creating a convenient and quick file-sharing solution for both personal and professional needs.
下一篇:### How to Eliminate the Notch on Your Android SmartphoneLooking to bid farewell to the infamous notch on your Android smartphone's screen? Here's a step-by-step guide to help you get rid of that distracting crevice for a more smooth and uniform viewing experience. ---#### Removing the Notch on Your Android Smartphone: A Comprehensive GuideReady to upgrade your smartphone's aesthetics and functionality? Follow these simple steps to say goodbye to the screen notch and embrace a seamless visual experience:1. **Check Your Device's Compatibility**: - Before diving in, ensure that your Android smartphone is compatible with a third-party app, custom ROM, or feature that allows you to hide the notch. Some devices have hardware limitations that may prevent you from doing so.2. **Download a Custom App**: - If your device is compatible, search for hide notch in the Google Play Store. You'll find various apps designed to simulate a notch-free display by stretching the screen content across the edges.3. **Root Your Device (Optional)**: - If the standard app solution isn't sufficient, or if you want complete customization, you may need to root your phone. Rooting allows you to install custom ROMs that can hide the notch at a deeper level. This is a risky endeavor and can void your warranty, so proceed with caution.4. **Install a Custom ROM (Advanced Method)**: - After rooting, download a custom ROM that's specifically designed to remove the smartphone's notch. Follow the detailed installation instructions provided by the ROM's developer to learn how to apply it to your device.5. **Adjust Your Device's Settings**: - Once the custom ROM is in place, access your device's display settings to confirm that the notch has been successfully removed. Adjust any relevant settings to ensure smooth scaling of content across the screen.6. **Test Your Setup**: - Run a visual test by displaying images and videos that are known to challenge the edges of your screen. You should not notice any artifacts or discrepancies, indicating that the notch removal method is working effectively.---Keep in mind that the process to remove a notch can vary depending on the specific make and model of your Android smartphone. It's always a good idea to consult the smartphone's manufacturer website or dedicated forums for device-specific advice and troubleshooting.