您的当前位置:首页 > Paper Plane > ### InFocus M680 vs. Lenovo K4 Note: Detailed Comparison with Pros & ConsDelve into a comprehensive head-to-head battle between the InFocus M680 and the Lenovo K4 Note. This article delves into the strengths and weaknesses of each smartphone, providing you with a detailed comparison to help you make an informed choice. 正文

### InFocus M680 vs. Lenovo K4 Note: Detailed Comparison with Pros & ConsDelve into a comprehensive head-to-head battle between the InFocus M680 and the Lenovo K4 Note. This article delves into the strengths and weaknesses of each smartphone, providing you with a detailed comparison to help you make an informed choice.

时间:2024-09-24 06:17:05 来源:网络整理 编辑:Paper Plane

核心提示

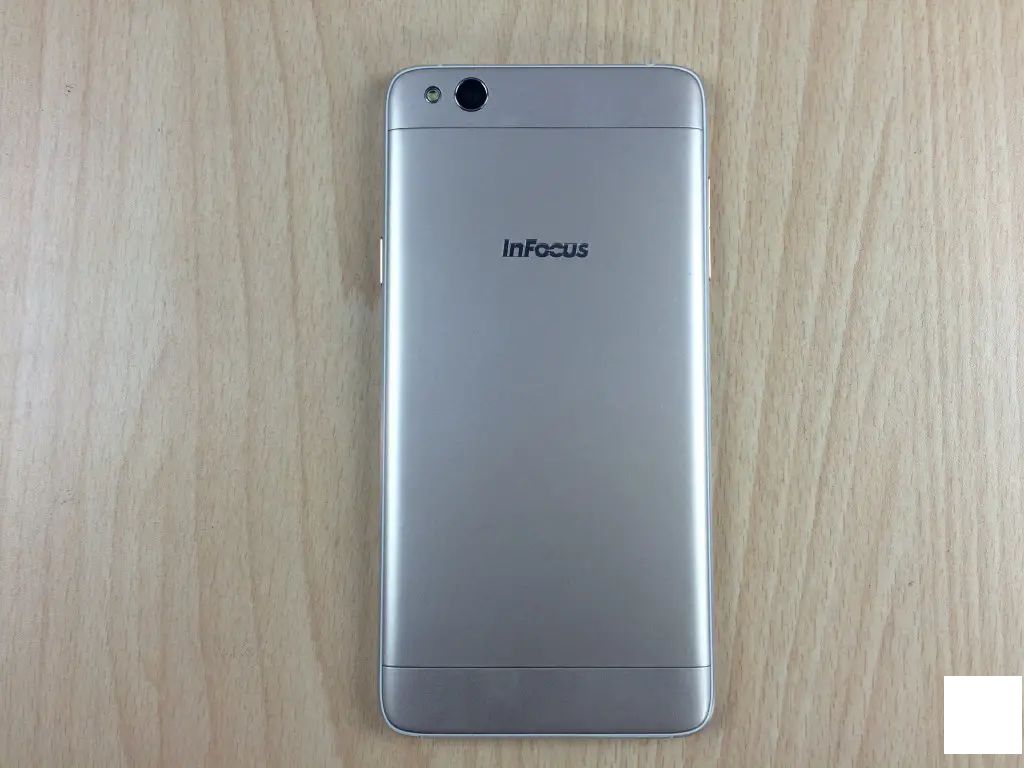
NoteworthyFeatures[tableid=309/]HighlightListDisplayandDesignHigh-resolutiondisplayforimmersiveviewi

Noteworthy Features

[table id=309 /]

Highlight List

Display and Design

  • High-resolution display for immersive viewing experiences
  • Futuristic design for a sleek and stylish look
  • Sturdy construction for longevity

Performance and Storage

  • Powerful processor for smooth multitasking

Cameras and Entertainment

  • High-quality cameras for stunning photos and videos
  • Integrated entertainment features for a fun-filled experience

Battery Life and Connectivity

  • Extended battery life for all-day usage
  • Convenient connectivity options for seamless experiences

Additional Perks

  • Advanced security features with fingerprint scanner
  • NFC chip for seamless mobile payments

Competitive Edge

Comparative Analysis

Lenovo K4 Note vs InFocus M680

Comprehensive Specs Comparison

Lenovo K4 Note

InFocus M680

Verdict

The Lenovo K4 Note stands out with its advanced fingerprint scanner and NFC capabilities, offering a richer feature set than the InFocus M680.

Conclusion

下一篇:Sure, here's a revised version of the copy:---**How to Request the Removal of Your Data from FaceApp’s Servers**If you wish to have your data deleted from FaceApp’s server, follow these outlined steps to submit a data removal request:1. **Access Your Account** Begin by logging into your FaceApp account with your registered email and password.2. **Navigate to Privacy Settings** Once logged in, search for your account settings or privacy section. This might be listed under a category like Profile, Privacy, or Settings.3. **Find the Data Removal Option** Within the privacy settings, locate the feature or option that pertains to data deletion or user data management. This might be labeled as Delete Data, Delete Account, or something similar.4. **Read the Instructions** Before proceeding, ensure you read the instructions carefully. Deleting your data may result in some services becoming unavailable, and the process is irreversible.5. **Confirm Your Request** If you decide to proceed, confirm your request as prompted. You may need to provide additional information for verification purposes.6. **Check Your Email** After submitting your data removal request, you should receive a confirmation email. If not, check your spam folder.7. **Wait for Confirmation** FaceApp may require some time to process your request. If you do not receive a confirmatory response after a reasonable period, consider reaching out to their customer support.For any further inquiries or assistance, do not hesitate to contact FaceApp’s customer service team.---Remember that once your data is deleted, it may not be recoverable, so make sure you are ready for the change before proceeding.