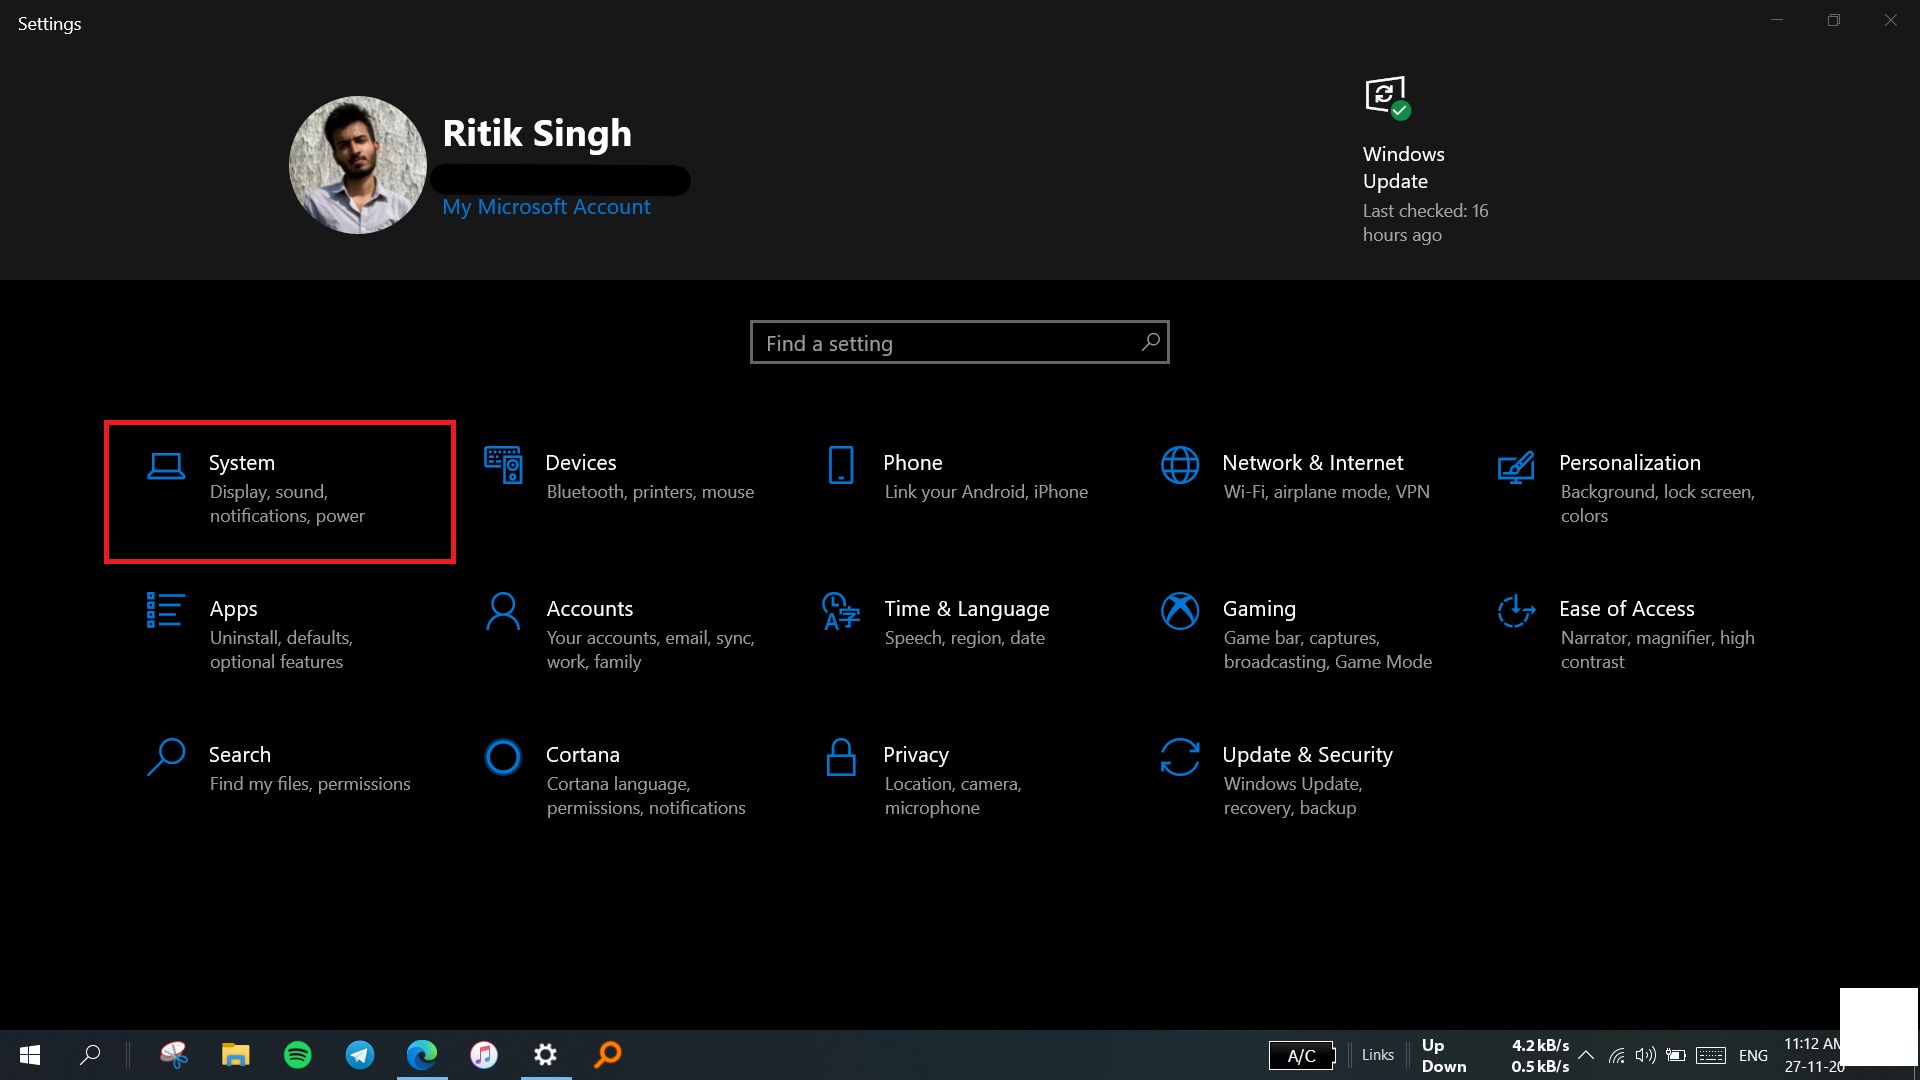
您的当前位置:首页 > Telegram Download Tutorial > ### How to Disable the Windows 10 Welcome ExperienceWould you like to bypass the initial welcome screen and dive straight into your Windows 10 experience? This guide will show you how to disable the Windows Welcome Experience, allowing you to launch your system directly to your personalized desktop.#### Step-by-Step Instructions1. **Access the Command Prompt with Elevated Privileges:** - To ensure you're performing these steps correctly, you'll need administrative access. Click on the Start button. - Type `cmd` in the search bar and then right-click on Command Prompt. Select `Run as administrator`.2. **Disable the Welcome Experience:** - A User Account Control (UAC) prompt will appear, asking for confirmation. Click `Yes` to proceed. - Once the Command Prompt opens, type the following command and press Enter: ``` msiexec / uninstall / packagepath = `C:\Program Files (x86)\Windows市委派包\conciergeOM.msi` ``` - If prompted to confirm the transaction, type `Y` and press Enter.3. **Perform a Clean Boot:** - To apply the changes, you might need to perform a clean boot. This will ensure that all unnecessary applications and services are disabled. Here's how to do it: - Type `msconfig` in the Start search bar and press Enter to open the System Configuration window. - Go to the `Services` tab. - Check the `Hide all Microsoft services` box at the bottom. - Click on `Disable all` to ensure all third-party services are also disabled. - Go back to the `Startup` tab and click on `Open Task Manager`. - Disable all startup items by right-clicking on them and selecting `Disable`. - Click on `OK` to close the System Configuration window. - Restart your PC.#### Further ActionAfter following these steps, you should find that the Windows Welcome Experience is disabled, and your system loads directly to the desktop. If you need to reactivate the Welcome Experience in the future, you can do so by following similar steps and paying attention to any prompts for confirmation. Keep in mind that making changes to system settings can have unintended consequences; always proceed with caution and desire. 正文

### How to Disable the Windows 10 Welcome ExperienceWould you like to bypass the initial welcome screen and dive straight into your Windows 10 experience? This guide will show you how to disable the Windows Welcome Experience, allowing you to launch your system directly to your personalized desktop.#### Step-by-Step Instructions1. **Access the Command Prompt with Elevated Privileges:** - To ensure you're performing these steps correctly, you'll need administrative access. Click on the Start button. - Type `cmd` in the search bar and then right-click on Command Prompt. Select `Run as administrator`.2. **Disable the Welcome Experience:** - A User Account Control (UAC) prompt will appear, asking for confirmation. Click `Yes` to proceed. - Once the Command Prompt opens, type the following command and press Enter: ``` msiexec / uninstall / packagepath = `C:\Program Files (x86)\Windows市委派包\conciergeOM.msi` ``` - If prompted to confirm the transaction, type `Y` and press Enter.3. **Perform a Clean Boot:** - To apply the changes, you might need to perform a clean boot. This will ensure that all unnecessary applications and services are disabled. Here's how to do it: - Type `msconfig` in the Start search bar and press Enter to open the System Configuration window. - Go to the `Services` tab. - Check the `Hide all Microsoft services` box at the bottom. - Click on `Disable all` to ensure all third-party services are also disabled. - Go back to the `Startup` tab and click on `Open Task Manager`. - Disable all startup items by right-clicking on them and selecting `Disable`. - Click on `OK` to close the System Configuration window. - Restart your PC.#### Further ActionAfter following these steps, you should find that the Windows Welcome Experience is disabled, and your system loads directly to the desktop. If you need to reactivate the Welcome Experience in the future, you can do so by following similar steps and paying attention to any prompts for confirmation. Keep in mind that making changes to system settings can have unintended consequences; always proceed with caution and desire.

时间:2024-09-23 12:27:31 来源:网络整理 编辑:Telegram Download Tutorial

核心提示

DiscoverthesecrettobypassingWindows10'sintrusivepost-updatecelebration.Saygoodbyetothe"WelcomeExperi

Discover the secret to bypassing Windows 10's intrusive post-update celebration. Say goodbye to the "Welcome Experience" screen and dive straight into the action with our step-by-step guide!

Disable the Post-Update Welcoming Show in Windows 10

Keen for the latest Windows 10 improvements but not the sparkling lights of the Welcome Screen? Here's a streamlined approach to shutting it down effectively.

While the Welcome Screen is a colorful reminder of your system’s fresh glimpse, some prefer the command-line efficiency of a no-click zone. If you’re part of the fast-boot brigade, here's how toheel the brakes on the welcome festivity:

  • Launch the Start checklist with a click on the iconic Windows emblem or a swift tap on your key deck.
  • Start checklist
  • Next, turn the dials to Windows Settings by mousing over to the cog or hitting the Windows + I combo for instant access. How to Use Apps in Compatibility Mode on Windows 10
  • Windows SettingsWindows + I
  • Delve into System settings, nabbing Notifications & Actions on the journey. How to Use Apps in Compatibility Mode on Windows 10
  • System Notifications & Actions 
  • Deactivate the mystical "Show Windows welcome experience..." box on the following screen. How to Use Apps in Compatibility Mode on Windows 10
  • Back on the horse, your Settings tab can vacate the stage, and you’re all set!
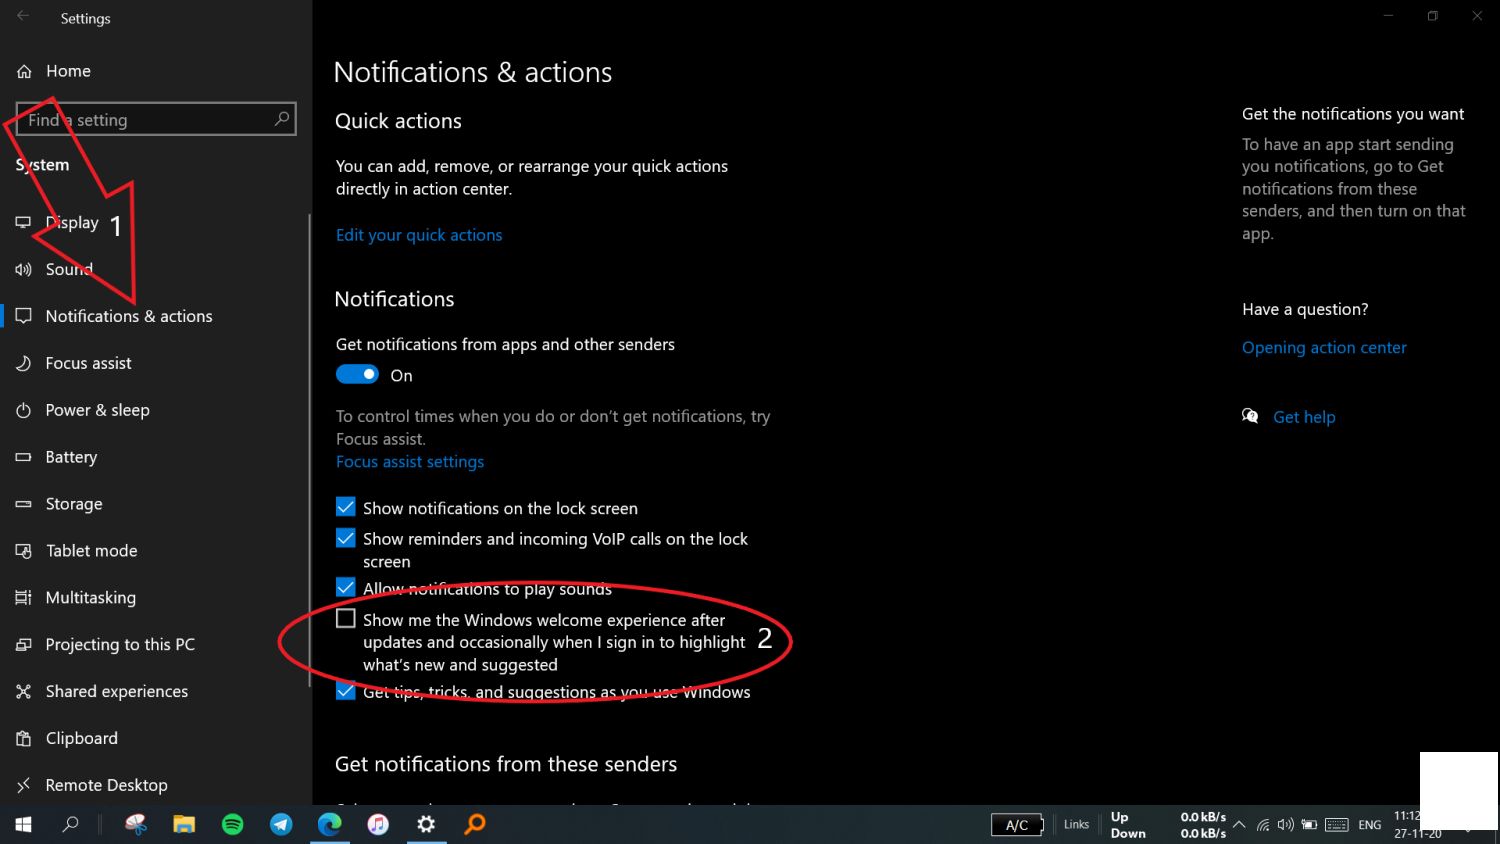
  • this is your cue. You've outsmarted the onboarding hub on your gizmo, and there'll be no popup вам when you rev up your Windows after the update or pounce into the login dance. If you're keen to sever all Windows fluff, simply unsubscribe from "Get Windows tips, tricks, and hints as you go" for a total debrief.

    上一篇:Certainly, I can help with that. Here's a revised version of the copy aimed at providing clear instructions for downloading your Instagram data:---**GUIDE: How to Download Your Instagram Data**Curious about how to get a copy of your Instagram content? Follow our simple step-by-step guide to download your Instagram data in just a few minutes.**GET STARTED BY CLICKING THESE CLICKABLE STEPS:**1. **Log in to your Instagram account.** - Navigate to your Instagram profile on either the mobile app or web version.2. **Access the Settings menu.** - On the mobile app, tap the menu icon (three lines) in the top right corner, then scroll down and select 'Settings.' On the web, click the profile icon in the bottom left of the screen, then go to 'Settings.'3. **Head to the Download Data section.** - Within 'Settings,' find the 'Data Download' option and tap or click it.4. **Request your data.** - You will be directed to a new page where you can select the account you want to download data for. Confirm the request and wait for Instagram to prepare your data.5. **Select the data you want to download.** - Once your data is prepared, you'll be able to choose the type of information you want to download, such as posts, stories, direct messages, live videos, and more.6. **Review your download.** - After selecting the data, you will see a summary of the files you will receive. Check the contents and confirm your selection.7. **Download now.** - Click or tap the 'Download' button to begin the process. Instagram will email you a link once your data bundle is ready for download.**CONSIDERATIONS:**- Ensure that you are logged in with the correct Instagram account.- You might need confirmation via a text or email message to proceed.- The process typically takes less than 48 hours, but can vary.**DOWNежда NOW AND GET YOUR INSTAGRAM DATA:**By following these simple steps, you'll have your Instagram data downloaded in no time!---This revised copy is structured for clarity, including an overview of the steps involved, and it incorporates some aspects of interactive writing style by suggesting clickable steps, although this is a standard text format.